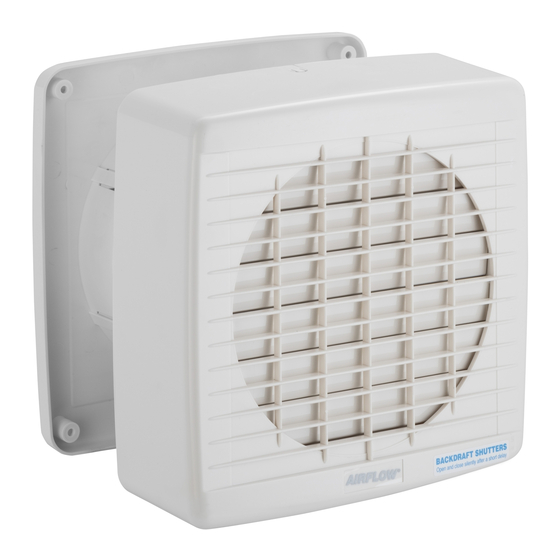
Airflow 7006A Instructions d'installation - Page 3
Parcourez en ligne ou téléchargez le pdf Instructions d'installation pour {nom_de_la_catégorie} Airflow 7006A. Airflow 7006A 4 pages.

7006A & 7008A
5.
Coil the cut PVC sheet around wall grille outlet
spigot and slide into retaining clips.
Retaining
clip
6.
Screw wall grille outlet to external wall.
(Appropriate fasteners to be used for each
installation - not provided).
INTERNAL
Sheet to be
approx. 20mm
overlapping
duct
Fan
assembly
© Clipsal Australia Pty Ltd
Wall grille
outlet
Optional
sticky tape
EXTERNAL
Wall
grille
outlet
MaxAir Wall Exhaust Fan Installation Instructions
7.
Place cover assembly as shown. Tighten
retaining screw. Test. Ready to go.
Cover
assembly
IMPORTANT NOTE:
7006A - Automatic Model
Before replacing the outer cover, ensure unit has
been "off" for five minutes, then return shutter
lever to its lowest position.
7008A - Pull Cord Model
Before replacing the outer cover, ensure the
shutter lever is in its lowest position. (ie. pull
cord = OFF)
7006A - Shutter Operation
Approximately 60 seconds delay on opening and
up to three minutes delay on closing of shutters,
ensuring silent operation.
WARNING:
This appliance is not intended for use by young
children or infirm persons, unless they have
been adequately supervised by a responsible
person to ensure that they can use the appliance
safely, and to ensure that they do not play with
the appliance.
Instructions to suit model no. 7006A and 7008A.
Appliance intended for installation through
external walls only.
If the supply cord is damaged, it must be replaced
by the manufacturer, its service agent or similarly
qualified persons, in order to avoid a hazard.
Fan
assembly
Retainer
screw
