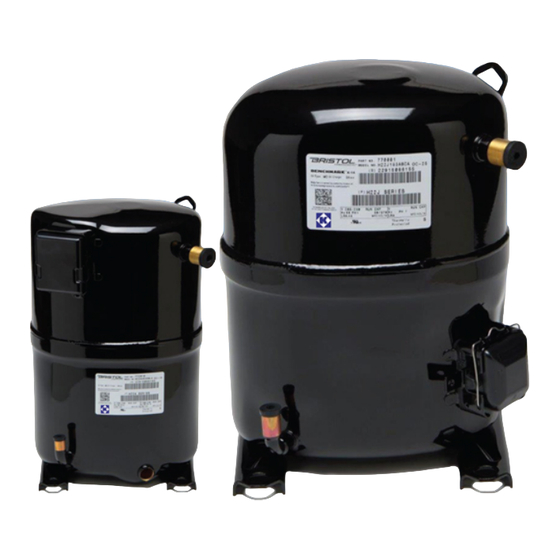
Bristol B Series Manuel d'installation et d'entretien - Page 4
Parcourez en ligne ou téléchargez le pdf Manuel d'installation et d'entretien pour {nom_de_la_catégorie} Bristol B Series. Bristol B Series 18 pages. Refrigeration/air conditioning/heat pump compressors

inlet. In addition, a bi-directional heat pump liquid line drier or factory recommended driers must be
installed. NOTE: ALWAYS REMOVE OLD FILTER DRIERS.
5.
BRAZE ON SUCTION AND DISCHARGE LINES. Flow an inert gas, such as nitrogen or CO
system at approximately 2 psig. This will reduce the possibility of oxidation inside the tubing. Braze on the
suction and discharge lines and braze the process tube shut following the recommendation listed below (if
the process tube is to be used, it should be brazed shut after the system has been charged):
COPPER TUBING:
BRAZING ALLOYS
BRAZING PROCEDURE: To ensure properly brazed joints, Bristol Compressors recommends that the
6.
CHECK SYSTEM FOR LEAKS. After installation is complete, pressurize the system to 75 psig using
nitrogen and a few ounces of system refrigerant. Check for leaks using a halide torch, soap bubbles or an
electronic halogen leak detector. When all connections test satisfactorily, release pressure using proper
recovery procedures, then proceed to next step.
CAUTION: Do not use the Bristol replacement compressor as an evacuation assist and never
apply voltage to a compressor while it is in a vacuum as damage could result.
7.
EVACUATE THE SYSTEM. Use a vacuum pump designed for this purpose. Vacuum must be pulled on
the discharge (high side) and suction (low side) of the system. Evacuate to 200 microns or lower.
8.
CHECK THE ELECTRICAL SYSTEM. While the system is evacuating, connect the electrical leads to the
compressor terminals. Verify that the electrical system is wired according to the unit's manufacturer and
Bristol's wiring diagram on page 9. Verify that the electrical components match those specified on the
compressor electrical data sheet on pages 10 through 14. Start components (start capacitor and relay)
are required on all systems that incorporate a hard shut-off or non-bleed thermostatic expansion
valve. It is a normal practice to replace all starting components any time a compressor is changed. Check
all connections and terminals to be sure they are tight. Connect the crankcase heater (standard on all "A"
Series). Power to the crankcase heater must be energized continuously. Voltage to an insertion type
heater can be anything between 187 to 600 volts. Operational voltage for wrap-around type heaters must
be verified.
WARNING: Application of voltage to the compressor with the terminal cover and retainer removed
can result in serious personal injury or death.
If additional copper tubing is required, use only clean, dehydrated refrigeration
grade tubing with sealed ends.
CAUTION: Do not use 95/5, 50/50 or 40/60 soft solder for brazing.
:
Phos Copper, or similar brazing alloys with high tensile strength on copper
welds only. Weld steel to copper only with silver brazing alloys.
following steps be used:
a. Exercise extreme care when cutting and forming tubes to keep dirt, filings,
and other contaminants from entering the system.
b. Do not use excessive amounts of brazing alloy as some of the excess may
penetrate the joint and enter the system.
c. If flux must be used, take necessary precautions to ensure that the flux does
not enter the system.
d. Use damp cloths or other heat absorbent material to ensure that the factory-
brazed joints on the compressor do not become damaged. If damp cloths
are used, take care not to allow moisture to enter the system.
e. Do not overheat brazed joints as excess heat will cause formation of copper
oxide on the inside wall of the tubing. Flow an inert gas through the system,
as explained above.
Page 4
, through the
2
Use Sil-Fos or
