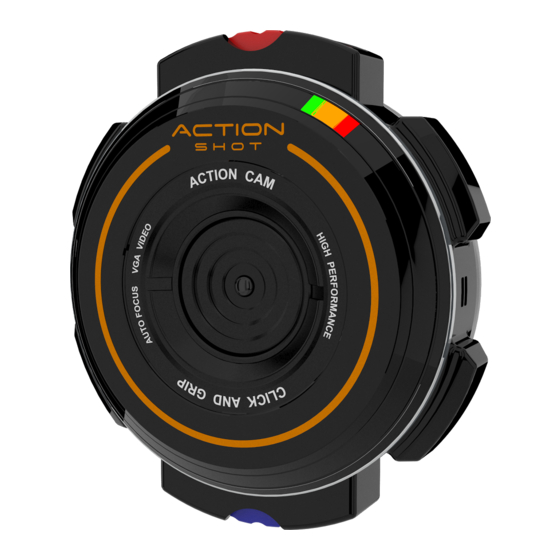
JAKKS Pacific Action Shot Instructions - Page 4
Parcourez en ligne ou téléchargez le pdf Instructions pour {nom_de_la_catégorie} JAKKS Pacific Action Shot. JAKKS Pacific Action Shot 4 pages. Digital video camera

MEMORY
The INTERNAL MEMORY of the Action Shot
™
Camera is 128mb. It will store approximately 2.5 minutes of video or 2,000 still
images. When the INTERNAL MEMORY is full, the LED INDICATOR blinks rapidly for 3 seconds and the camera makes a sound.
Stop recording and transfer your video or images to your computer (see above).
Upgrade the Action Shot
™
Camera's memory by purchasing a MICRO SD MEMORY CARD (not included). A 4GB Micro SD
Memory Card will store approximately 81 minutes of video or 60,000 still images. When the MICRO SD MEMORY CARD is in
the camera, it disables the camera's internal memory, and all new images are recorded onto it.
1
SLIDE the MICRO
Micro SD Card
SD CARD SLOT
Slot Cover
COVER UP.
3
Press and Hold the REC / STOP
BUTTON and the POWER / MODE
BUTTON for 5 SECONDS to format the
MICRO SD MEMORY CARD.
HELMET/HEAD MOUNTING
1
ROTATE the front
section of the
MOUNTING CASE
COUNTERCLOCK-
WISE (approx.
1
/
")
4
and REMOVE.
3
ROTATE the front section
of the MOUNTING CASE
CLOCKWISE
(approx.
1
/
").
4
5
For LANDSCAPE
FORMAT ROTATE the
MOUNTING CASE
COUNTERCLOCKWISE.
2
INSERT the MICRO SD
MEMORY CARD into the
MICRO SD CARD SLOT.
4
CLOSE the MICRO SD CARD SLOT.
To remove the MICRO SD MEMORY CARD,
PRESS IN and RELEASE.
Then, PULL the memory card out.
Micro SD Card Slot Cover
2
INSERT the
™
ACTION SHOT
CAMERA into the rear
section of the MOUNTING
CASE and REPLACE the front section
of the MOUNTING CASE.
4
INSERT the
MOUNTING CASE
onto the
HELMET/HEAD
MOUNTING
STRAP.
OR, for PORTRAIT FORMAT
ROTATE the MOUNTING CASE
CLOCKWISE.
HELMET/HEAD MOUNTING
6
INSTALL the
HELMET/HEAD
MOUNTING STRAP
onto your SAFETY
HELMET or your HEAD.
BOARD MOUNTING
4
Follow STEPS 1 – 3 in the
HELMET MOUNTING section.
4.1
REMOVE the PROTECTIVE
COVERING (4.1) and PRESS the
MOUNT onto a CLEAN SMOOTH
SURFACE (4.2).
4.2
5
INSERT the MOUNTING CASE onto the ADHESIVE
MOUNT.
TROUBLESHOOTING
The Camera will not turn ON – Make sure the Camera is fully
charged (See CHARGING THE BATTERY section).
The Camera will still not turn ON – Insert a PAPER CLIP into
the RESET HOLE and PRESS the RESET BUTTON.
The Camera will not turn OFF – Insert a PAPER CLIP into the
RESET HOLE and PRESS the RESET BUTTON.
The Camera is turned ON, but...
•
The Camera will not Record – Insert a PAPER CLIP into the RESET HOLE and PRESS the RESET BUTTON.
•
The Camera will not Take Photos – Insert a PAPER CLIP into the RESET HOLE and PRESS the RESET BUTTON.
(Continued)
7
TIGHTEN the
HELMET/HEAD
MOUNTING
STRAP and PRESS the
STRAP against the
LOOPED FASTENER to
secure.
OR, use #2 or #3 SCREWS (not included) to secure the
ADHESIVE MOUNT to a surface.
6
ROTATE the MOUNTING CASE CLOCKWISE for PORTRAIT
FORMAT, or COUNTERCLOCKWISE for LANDSCAPE
FORMAT.
