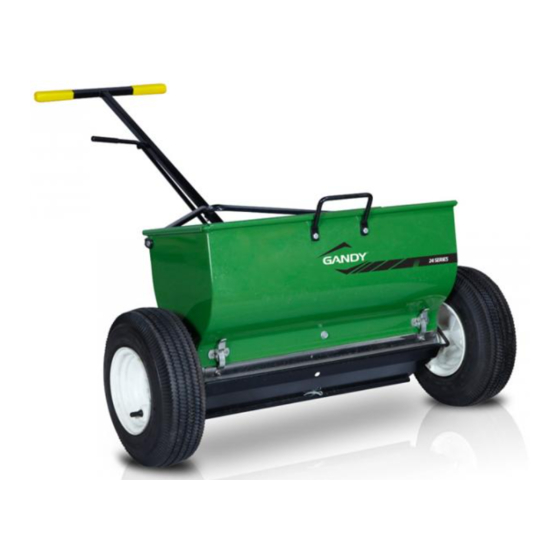
Gandy 24H13 Manuel de pièces et d'assemblage - Page 4
Parcourez en ligne ou téléchargez le pdf Manuel de pièces et d'assemblage pour {nom_de_la_catégorie} Gandy 24H13. Gandy 24H13 19 pages. 24-inch variable rate spreader
Également pour Gandy 24H13 : Manuel de l'opérateur (8 pages), Manuel de l'opérateur (8 pages), Manuel de l'opérateur (10 pages)

Assembly Instructions:
Please read and review all instructions before starting to assemble.
Minimum tools required.
Pliers, Two 7/16" Wrenches & One 1/2" Wrench
Step# 1
(Unpacking & Rotor Bar Assembly)
Remove contents from carton and check all parts against page #1 to confirm parts.
Un-wrap rotor bars, making sure one washer stays on each long end of rotor bar. (See Diagram #2 on page #2)
Carefully open the hardware bag and check all parts against page #2, Diagram #3 to confirm all parts.
1.
Note: Lay something down (piece of cardboard or blanket) to protect hopper from being scratched up.
Place hopper upside down with cam gauge facing you.
2.
Un-snap latches on hopper (two each side) and un-hook from bottom assembly.
3.
Remove bottom assembly from hopper by pulling straight up on it.
4.
Remove the 5/16" wing nut and washer from each bearing retainer and remove both bearing retainers.
Save the wing nuts & washer as they will be re-used latter.
5.
Remove both bearings from hopper. (Note: Bearing may fall out when removing bearing retainers.)
6.
Install rotor bars (short end of rotor bar) into center bearing.
7.
Slide bearing onto rotor bar (long end) up to hopper, making sure washer is still on rotor bar.
Repeat for other rotor bar. Make sure center bearing is standing straight up.
8.
Install bottom assembly back onto hopper. Cam gauge will be on same side as the 5/16" threaded stud.
9.
Make sure bearings are pushed into hopper, re-snap all four latches to hold bottom in place.
10.
Re-install left side bearing re-using the 5/16" washer and wing nut to hold bearing retainer in place.
When installing make sure the rod on the bearing retainer is on the opposite side of the cam gauge.
Other bearing retainer will be re-installed in the next step.
Diagram #6
(All Hardware & Small Parts in Hardware Bag Unless Otherwise Specified)
Page 4 of 19
2824-A1
