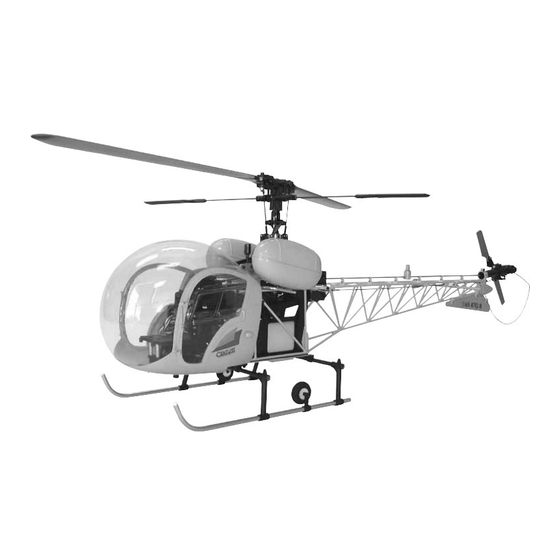
Century Helicopter Products Bell 47G II ARF Helicopter Manuel - Page 11
Parcourez en ligne ou téléchargez le pdf Manuel pour {nom_de_la_catégorie} Century Helicopter Products Bell 47G II ARF Helicopter. Century Helicopter Products Bell 47G II ARF Helicopter 15 pages.

STEP 15 Drive Shaft Housing, Guides & Tail Beacon
STEP 15 Drive Shaft Housing, Guides & Tail Beacon
STEP 15 Drive Shaft Housing, Guides & Tail Beacon
STEP 15 Drive Shaft Housing, Guides & Tail Beacon
STEP 15 Drive Shaft Housing, Guides & Tail Beacon
Position one pair of drive shaft support guides over each
horizontal brace and insert one M2x6 Phillips Head Screw
through the center hole in each of the guides and secure
using one M2 Hex Nut using threadlock. Roughly center
each guide along the brace. Trim and attach the clear light
onto the beacon base using "Goop" adhesive. Slide the
drive shaft housing through the first and second guides,
then insert the tail beacon positioned between the second
and third horizontal braces. Continue to slide the drive
shaft housing to the front support guides. Sight from the
rear to align them. Permanently bond the brass tube
to the guides and the beacon to the brass tube.
M4x4 Set
Screw x 2
place using threadlock. Care must be taken to ensure that equal pressure is applied to the coupler,
otherwise the coupler will turn out of round and vibrate the tail assembly. Insert a liberal amount of
grease into the tail drive tube and work the tail drive shaft into the housing by sliding back and forth to
thoroughly coat the drive shaft with grease. When the drive shaft exits the front of the drive housing,
remove any bulk of grease and continue to slide it forward until it fully engages into the tail transmis-
STEP 17 Tail Tube Mount
STEP 17 Tail Tube Mount
STEP 17 Tail Tube Mount
STEP 17 Tail Tube Mount
STEP 17 Tail Tube Mount
Kits are pre-assembled. Slide the tail tube into the
mount and secure using one M3x10 Socket Cap
Screw using threadlock. Loosely attach two M2.6x6
Socket Cap Screws to the upper holes of the tail tube
mount. Lift the tail gear box assembly to align the
bottom, forwardmost hole (some slight bending
maybe necessary to get proper alignment, but if the
tail drive coupler appears to deflect, shorten the tail
drive shaft by 3mm[1/8"]). Insert the bottom M2.6x6
Socket Cap Screw and tighten in place using
threadlock. Remove the top screws one at a time to
apply threadlock and secure in place. Finally sight
from behind and tweak (powder coat finish may
crack but can be painted) the tail gear box assembly
to align to the tail truss. Ensure the tail rotor turns
smoothly when turning the main gear.
10
Tail Drive Coupler - Male
[CN1074-14]
If building the conversion kit, replace the tail transmission
drive shaft if tail drive was previously torque-tube drive.
Install the wire drive shaft. Clean both parts and apply
threadlock to the shaft before inserting into the male cou-
pler. Insert and tighten one M4x4 Set Screw over the flat
spot first then insert the second set screw and tighten in
Tail Drive Shaft
Support Guides x 7
[CN1074-16]
M2x6 Phillips Screw x 7
M2 Hex Nut x 7
M3x10
Socket Cap
Screw
Tail Tube
Mount
[CN1074-18]
M2.6 x 6
Socket Cap
Screw x 3
Bell47G II Detail Manual
Bell47G II Detail Manual
Bell47G II Detail Manual
Bell47G II Detail Manual
Bell47G II Detail Manual
Tail Drive Shaft Housing
[CN1074-16]
STEP 16 Tail Drive Shaft
STEP 16 Tail Drive Shaft
STEP 16 Tail Drive Shaft
STEP 16 Tail Drive Shaft
STEP 16 Tail Drive Shaft
sion drive shaft.
Tail Tube
[CN1074-17]
