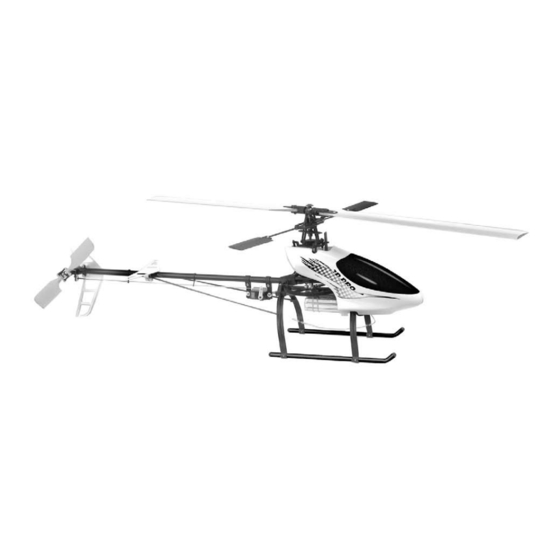
Century Helicopter Products Hummingbird Elite 3D Pro Manuel d'assemblage et d'instruction - Page 5
Parcourez en ligne ou téléchargez le pdf Manuel d'assemblage et d'instruction pour {nom_de_la_catégorie} Century Helicopter Products Hummingbird Elite 3D Pro. Century Helicopter Products Hummingbird Elite 3D Pro 12 pages.
Également pour Century Helicopter Products Hummingbird Elite 3D Pro : Manuel d'instruction (10 pages)

Section 6: Main Rotor Hub
Bags Used:
CNE303, CNE313
Main Rotor Head Assembly (6-1, 6-2)
Get parts bag CNE303
CNC Rotor Hub
CNE313
Main
Shaft, spacers and main shaft collar.
Place not used here in a container to avoid losing them.
19) Insert CNE313
Main Shaft
has three holes. Mount the
Main Shaft
of the
Main Shaft
where the hole is closest to the tip of the
(least material between the hole in the shaft and the end of the shaft).
Put the
Plastic Link Stabilizer
Note, that there is a hole in the middle base of the
the holes from the
Plastic Link Stabilizer
a lamp, you should be able to see light through the hole (if the lamp is ON).
20) Insert the 11mm
Jesus Pin
Jesus Pin
in place using hobby pliers.
Section 7: Seesaw & Rotor Hub Collar
Bags Used:
CNE306, CNE313
Seesaw & Rotor Hub Collar (7-1, 7-2, 7-3)
Open parts bag CNE306 seesaw assembly.
21) Place the
Center Pivot Joiner
Center Pivot Joiner
will protrude from the large slots of the
Short ends will protrude from the small slots).
22) Remove the
Head Button
Inner Seesaw Assembly
the
Inner Seesaw Assembly
M2x7 Countersunk Screws
the
Head Button
onto the
23) Attach the
Swing Arms
using the supplied
Inner Seesaw Assembly
Assembly
(7-3).
24) Start the supplied
M2x5 Machine Screw
insert it over the
CNC Rotor Hub
Stabilizer. Apply locktite to screw and tighten.
Place extra small parts in a container.
7-2
M2x7 Countersunk
Screw (2) #CNE306
and rotor hub collar and Part bag
into the
CNC Rotor
Hub. Take note that the
CNC Rotor Hub
over the bottom of the
CNC Rotor
CNC Rotor
to the
CNC Rotor
through the assembly. Tap or press the
inside the
CNC Rotor Hub
from on top of the
CNC Rotor Hub
and align it with the
Center Pivot
to the
Center Pivot Joiner
from bag CNE306. Once completed, replace
CNC Rotor
Hub.
M2x7 Button Head Screws
with the two
control balls
facing the
into the
Rotor Hub Collar
until it is flush with the
Inner Seesaw
Assembly #CNE306
Main Shaft
#CNE313
onto the end
Main Shaft
Hub.
Hub. Align
Hub, hold it up to
7-1
(long ends of the
CNC Rotor Hub
and insert the
Joiner. Attach
using the supplied
CNC Rotor Hub
#CNE303
to the
Inner Seesaw
and
Plastic Link
Swing Arm
#CNE306
Plastic Link
Stabilizer
#CNE303
M2x5 Machine
Screw
#CNE303
6-1
6-2
Jesus Pin
(goes here)
#CNE303
Head Button
#CNE303
7-3
CNC Rotor Hub
#CNE303
Plastic Link Stabilizer
#CNE303
Center Pivot Joiner
#CNE306
Center Pivot Joiner
#CNE306
Control Ball
Swing Arm
#CNE306
M2x7 Button
Head Screw
Rotor Hub
#CNE306
Collar
#CNE303
5
