CenturyLink C4000BG Manuel de l'utilisateur - Page 9
Parcourez en ligne ou téléchargez le pdf Manuel de l'utilisateur pour {nom_de_la_catégorie} CenturyLink C4000BG. CenturyLink C4000BG 14 pages.

- 1. Table of Contents
- 1. 1 Introduction
- 2. 2 Overview
- 3. 3 Setup
- 4. 4 Internet Connection Setup (Centurylink Home Router Side)
- 4. Automatic Connection
- 4. Manual Connection
- 5. 5 Setting up a Wireless Network
- 5. Using WPS (Wireless Protected Setup)
- 5. Setting up a Wireless Network Manually
- 6. 6 Getting to Know the C4000BG
- 7. 7 Technical Specifications
- 7. General Specifications
- 7. Dimensions and Weight
- 7. Environmental Parameters
- 8. 8 Fcc
5 Setting up a wireless network
You can setup a wireless network using the following methods using an automatic connection (section 5.1) or manually connecting the
device (section 5.2):
5.1 Using WPS (Wireless Protected Setup)
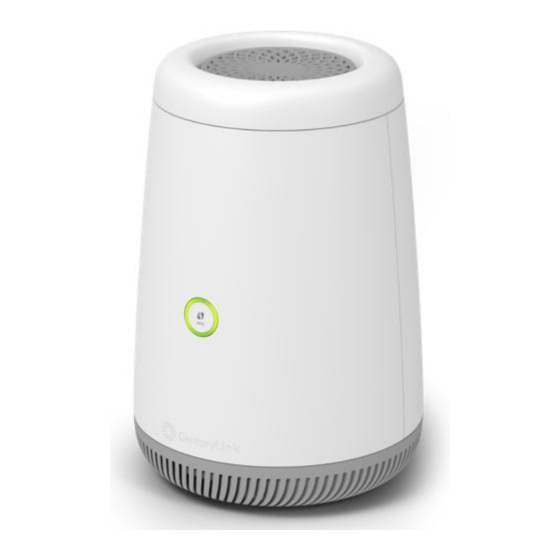
1. Press the WPS button on the C4000BG's front for more than five seconds to turn WPS on.
2. You should see the light blinking White until a pairing sequence has started with the device connecting to the network (at which
point it will alternate white and green).
3. Press the WPS button on the device you wish to connect to the network
4. If a successful connection is established, the LED ring will alternate Green, then white, then solid green once normal active
operations continue.
5.2 Setting up a wireless network manually
The wireless LAN on your C4000BG is enabled by default. To add a wireless client to the network, use the settings found on the bottom label
of your C4000BG. Configure wireless devices that you want to connect to the wireless network to use the same wireless settings as the
C4000BG.
9
