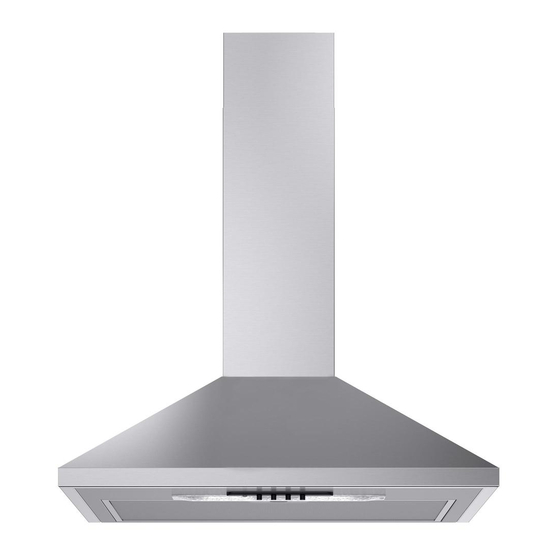
GENERAL INSTALLATION GUIDELINE.
Ensure the installation type of chimney i.e. Recycling or Ducting.
*
Mark the standard distance between top of the hob and bottom of the chimney (500 / 700mm).
*
Find and match the center of the chimney and hob as Fig.5
*
Mark the holes for wall mounting bracket on the walls as per schematic diagram as Fig.5
*
By making standard holes, fix the wall mounting bracket on the wall.
*
Install the chimney on the wall.
*
Align the chimney horizontally by adjusting the wall level screw.
*
Connect the power supply cord to electrical supply point.
*
In Ducting mode, after installing the chimney, make the ducting as per
*
In
recycling mode, install charcoal filter as applicable
*
product and can be purchased through authorized service center.
Fix the duct cover as Fig.1
*
DUCTING FOR EXHAUST SYSTEM
Mounting the hood body
Before attaching the hood body, tighten the two screws located on the hood
*
body mounting points.
Hook the hood body onto the screws.
*
Fully tighten the support screws.
*
Adjust the screws to level the hood body.
*
CONNECTIONS
Ducted Version Air Exhaust System
When installing the ducted version, connect the hood to the chimney using either
a flexible or rigid pipe Ø 150 or 120 mm, the choice of which is left to the
installer.
To install a Ø 120 mm air exhaust connection, insert the reducer flange
*
on the hood body outlet.
Fix the pipe in position using sufficient pipe clamps (not supplied).
*
ELECTRICAL CONNECTION
Remove the grease filters make sure that the connector of the feeding cable is
correctly inserted in the socket placed on the side of the fan. Insert the main plug in
socket and check voltage with proper earthing.
FITTING THE CHIMNEY
Open the two side pieces out slightly, hook them up behind the bracket 5 and
*
bring them back together again until they are in contact.
Warning: If it has been extended so far that the lower slots in the upper chimney
*
are level with the holes in the bracket, use the screws to fix it; otherwise only use the
bottom bracket as a stop for the upper chimney.
Lower Chimney
Fix the lower part to the Hood canopy at the sides, using 2 screws.
*
4
company recommended guidelines.
to model. Charcoal filters are not available with
© Inter IKEA Systems AI 2017 2017-09-13
Fig. 6
Fig. 7
Fig. 8
5
Fig. 9
23221
AA-2037583-3

