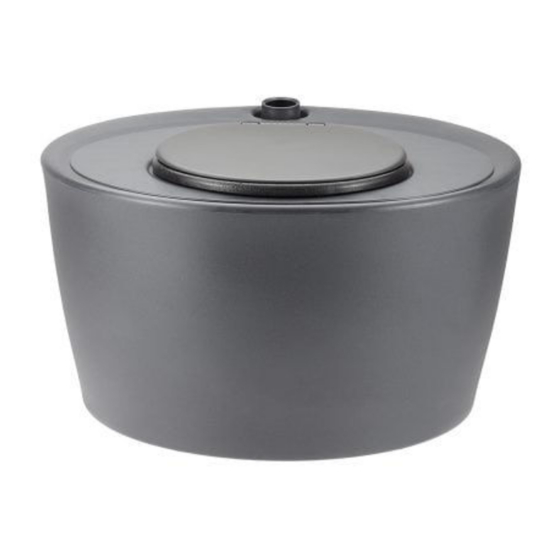
GREEN LOO Rota–Pod Manuel d'installation et d'utilisation du propriétaire - Page 3
Parcourez en ligne ou téléchargez le pdf Manuel d'installation et d'utilisation du propriétaire pour {nom_de_la_catégorie} GREEN LOO Rota–Pod. GREEN LOO Rota–Pod 8 pages. Dry composting toilet

INSTALLATION PLANNING
It's all in the planning!
For proper operation of the toilet you should consider a number of issues.
The design of the site and building needs to allow for:
• An elevated starting point for liquid to flow by gravity from the toilet down into a liquid absorption
trench which is to be dug outside the toilet. The whole toilet needs to sit on level ground, IF
ANYTHING SLOPING SLIGHTLY BACKWARDS.
• Space for the toilet and a firm, dry and sheltered base for it to sit.
• Adequate access to service and maintain the toilet.
• Good ventilation to provide oxygen and evaporate liquids
• Electrical supply (240VAC or 12VDC) to the fan location
The Rota Pod is supplied as a kit containing most of the components required and can be installed
using basic building tools and materials available at plumbing suppliers or hardware shops
Installation of the Rota Pod involves:
1. Preparing a flat, level and firm base for the composting container to sit
2. Installing the ventilation pipe-work, including fan and vent cowl
3. Connecting the ventilation pipe work, electrical connection and excess liquids pipe
4. Preparing the excess liquids dispersal trench
5. Final checks before use
Space Required
There is no ideal set of measurements which will suit all applications but you do need to provide
enough space to locate and install the toilet, enough space to fit and maintain the air vent piping and
fan and enough space to access and exchange the containers.
•
Don't plan to install a light directly over the pedestal/waste chute as this will attract flying
insects.
• Don't use your toilet fan. It's suction works against the suction of the fan of the Rota Pod.
Most Rota Pods are installed indoors and are usually screwed or glued to the floor.
3
