Ganz GH Series Manuel d'instruction - Page 4
Parcourez en ligne ou téléchargez le pdf Manuel d'instruction pour {nom_de_la_catégorie} Ganz GH Series. Ganz GH Series 8 pages. Internal power supplies
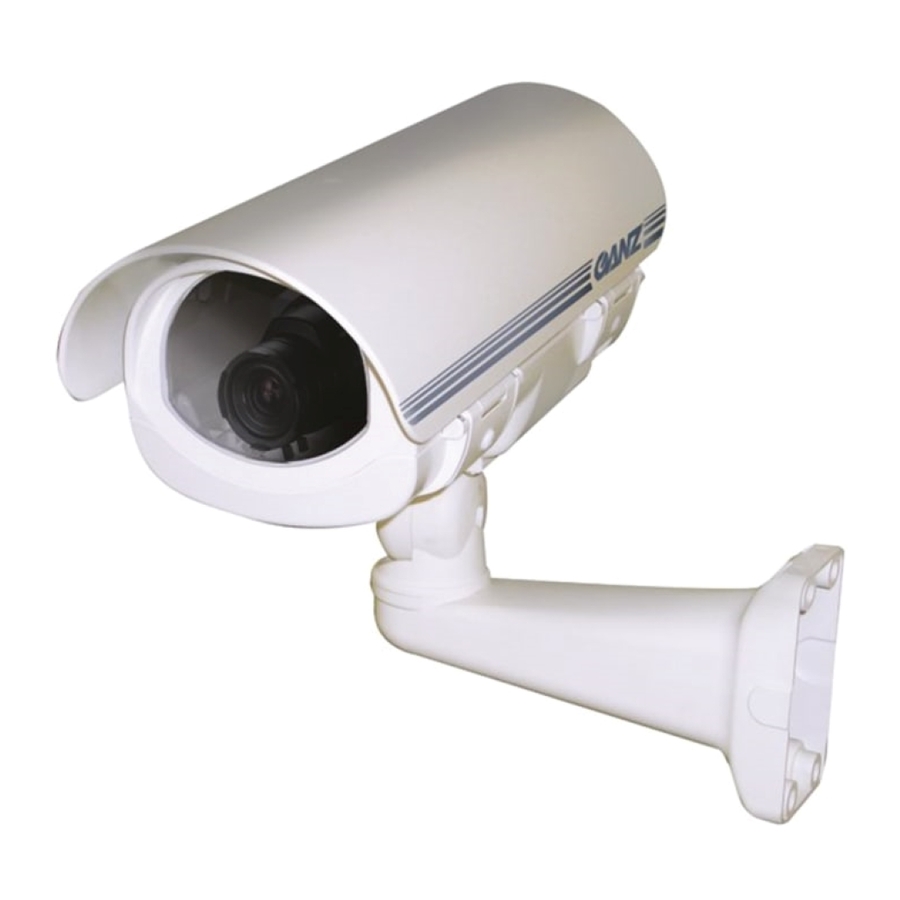
Également pour Ganz GH Series : Manuel d'installation et d'utilisation (16 pages)
The power supply units GH-PS230/24, GH-PS230/12 and GH-PS24/12 are
components designed and addressed for internal use of GH GANZ housing only,
with the purpose to provide correct power voltage to the camera hosted inside of
the housing.
The GANZ housing series, combined with the internal power supplies,
subjects of this manual, are compliant with the following Standards:
EN 60065
(CE certification for EMC and safety)
EN 55022(1998)
EN 61000-3-2(1995)
EN 61000-3-2/A1(1998)
EN 61000-3-2/A2(1998)
EN 61000-3-3(1995)
EN 50130-4(1995)
EN 50130-4/A1(1998)
IMPORTANT SAFEGUARDS AND WARNINGS
Prior to proceed on installation and operation of the product, please read and
understand carefully all the indication and instruction reported on this manual.
Please take note and observe the following warnings:
1.
Installation and servicing have to be done only by qualified personnel and
in compliant with local law.
2.
Use only parts or subassembly indicated in this manual and original by
CBC.
3.
After maintenance or repair/replacement of parts, please proceed in a
check where should be assured that none of the exposed parts have not
been connected to main power or line circuitry.
4.
The installation method and materials have to be safe and should be able
to support minimum 4 times the weight of camera/lens+housing and
bracket weight combined
5.
After reading the manual, please preserve it for future needs and use for
servicing and maintenance operation
PRODUCT DESCRIPTION
The GH-PS230/24, GH-PS230/12 and GH-PS24/12 are optional components for
GH housing serie that must be used to provide the correct power supply to the
CCTV camera that you would like to mount inside of the GANZ housing when the
power supply requested by the camera is different from the ones requested by
housing itself, used to provide power to the circuit heating also.
The power supply units require and provide the following voltages:
GH-PS230/24
Input: 230Vca
GH-PS230/12
Input: 230Vca
GH-PS24/12
Input: 24Vca
INSTALLATION AND OPERATION
Tools needed
In addition to the ones provided inside of the housing packaging, the following
tools are needed for a proper and fast operation:
Medium Phillips screwdriver
Medium blade screwdriver
Small blade screwdriver
5mm Allen ex
Sunshield removing/pivoting
WARNING! The GH-230KIT and GH-230 need a
power supply at 230Vac. For safety reason, this model
must be provided and installed with sunshield even for
indoor application. This is requested to avoid any
accidental removal operation of the front body part
without the use of any tool that proof the understanding
of
operation
countermeasures needed.
To achieve and open the housing body, the first operation are related to sunshield
removing or pivoting.
The sunshield can be pivoted on both sides alternatively or completely removed
operating by the special Allen ex tool provided into the housing packaging (see
fig.1).
Back side body part removing
This symbol indicates that dangerous
voltage constituting a risk of electric shock
is present inside of this unit.
This symbol indicates that there are
important instruction that have to be
followed reported in the manual to avoid
risk to damage the products or avoid
hazardous
risk
to
maintenance
service personnel.
Output: 24Vca/12VA
Output: 12Vcc/360mA
Output: 12Vcc/360mA
in
progress
and
the
safety
WARNING: the back side of the housing
body is destined to host power supply
circuits and terminal strip connection with
presence of high voltage. Before opening
this side, please, switch off the line
source.
For safety regulation, the part of the body hosting power circuits must be
accessed by tool.
To remove this body part, operate on the (4) Phillips screws (see fig.2).
Place the body part removed on the pivoted sunshield.
Power supply board installation
Follow these steps:
1.
Open the housing like above indicated.
2.
Take note of the existing cabling provided. After that, disconnect the cabling
from the power distribution board unscrewing the terminal strips. Remove the
nylon spacer that support the board.
3.
By screws provided into the packaging, fix the hexagonal spacer in-yard
oriented (see fig.5).
4.
Fix the power supply board on hexagonal spacers, orienting the output "VO"
on upper side.
5.
Connect the camera power conductors to the appropriate terminals "VO".
6.
Connect the main power supply input conductors to appropriate "230Vac"
terminals and the ones for heater/thermostat to terminals "230HT".
In case you have not bought a KIT version of GH housing, the power supply line
have to be provided by a three conductors cable running through the central
PG11 gland inside of the housing: the main power supply conductors have to be
connected to the appropriate terminal strips in the following way:
and
Meaning
Conductors color
MainPower IN
Out Heater
Out Camera
In addition, crimp the ground conductor to a ring terminal and fix it to the point
identified by Ground symbol by the M4 screw provided.
Back side body part re-assembly
If this will be the latest operation to complete the housing body closure, insert the
desiccant bag (without plastic protection) inside of the body before to proceed.
Place the back side body part lining up the fixing holes to the screws. Push the
two parts each other until they are properly combined. For better insertion and
good tight against dust or avoid any water leaking, we suggest to spread a thin
layer of syliconic lubricant over the O ring. Then tie the screws, following a cross
fixing order.
Fixing of sunshield
Re-positioning of the sunshield on the holding point(s).
Insert the fixing screw(s) and tie.
4
Electrical Connection
Terminal strip
Blue/Brown
"230Vac"
White
"230 HT"
"VO"