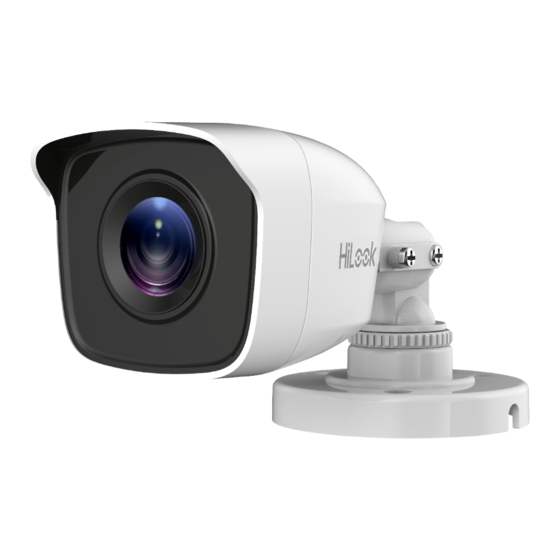
HIKVISION HWT-B123-M Manuel de l'utilisateur - Page 9
Parcourez en ligne ou téléchargez le pdf Manuel de l'utilisateur pour {nom_de_la_catégorie} HIKVISION HWT-B123-M. HIKVISION HWT-B123-M 15 pages. Hd turret and bullet camera

8. Power on the camera to check whether the image
on the monitor is gotten from the optimum angle. If
not, adjust the camera according to the figure below
to get an optimum angle.
Tilt Position
[0° to 75°]
1). Rotate the enclosure to adjust the pan position
[0° to 360°].
2). Move the camera body up and down to adjust
the tilt position [0° to 75°].
3). Rotate the camera body to adjust the rotation
position [0° to 360°].
2.3 Installation of Type III and Type IV Camera
Before you start:
Type III and Type IV cameras share the same installation,
and we take Type IV camera as the example to describe
the installation method.
Both wall mounting and ceiling mounting are suitable
for the camera. Ceiling mounting will be taken as an
example in this section. You can take the steps of ceiling
mounting as a reference, when adopting wall mounting.
Steps:
1. Paste the drill template (supplied) to the place
where you want to install the camera.
2. Drill the screw holes and the cable hole (optional) in
the ceiling according to the drill template.
Note:
Drill the cable hole, when adopting the ceiling outlet
to route the cable.
3. Attach the bracket to the ceiling and secure the
camera with supplied screws.
Pan Position
[0° to 360°]
Figure 2-10 3-axis Adjustment
Figure 2-11 Drill Template
Rotation Position
[0° to 360°]
