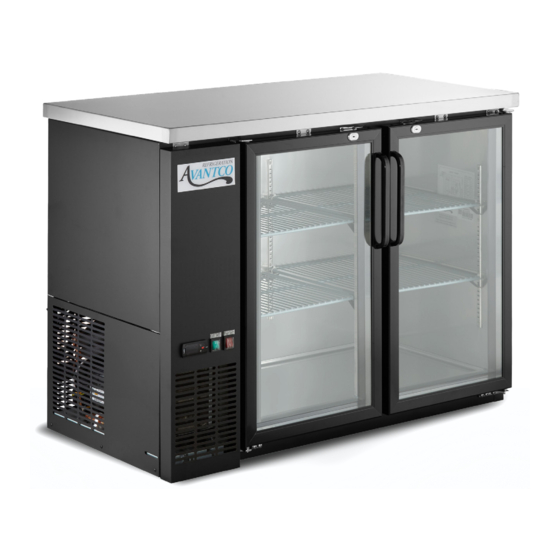
Avantco 178UBB72GT Manuel de l'utilisateur - Page 7
Parcourez en ligne ou téléchargez le pdf Manuel de l'utilisateur pour {nom_de_la_catégorie} Avantco 178UBB72GT. Avantco 178UBB72GT 7 pages. Back bar refrigerator
Également pour Avantco 178UBB72GT : Manuel de l'utilisateur (11 pages)

Cleaning the Interior of the Unit
• When cleaning the cabinet interio, use a solvent of warm water and mild soap.
• Do not use steel wool, caustic soap, abrasive cleaners, or bleach that may damage the interior finish.
• Wash door gaskets on a regular basis, preferably weekly. Remove the door gasket from the frame of
the door, soak it in warm water and soap for (30) minutes, then dry with a soft cloth and replace.
• Check door gaskets for proper seal after they are replaced.
• Periodically remove the shelves and shelf brackets from the unit, and clean them with a mild soap
and warm water.
Trouble Shooting
Compressor is Not Running
Fuse blown or circuit breaker tripped.
Power cord unplugged.
Thermostat set too high.
Cabinet in defrost cycle.
Cabinet Temperature is too Warm
Thermostat is set too high.
Airflow is blocked.
Excessive amount of warm product placed in
cabinet.
Fuse blown or circuit breaker tripped.
Low refrigerant levels.
Prolonged door opening or door ajar.
Interior Light is Not Working
Poor switch connection.
Bulb is not connected.
Bulb has burned out.
Condensation is Collecting on the Cabinet and/or Floor
Gasket is not sealing properly.
User Manual
Replace fuse or reset circuit breaker.
Plug in power cord
Set thermostat to lower temperature.
Wait for defrost cycle to finish.
Set thermostat to lower temperature.
Re-arrange products to allow for proper air flow.
Make sure there is at least four inches of clearance
from the evaporator.
Allow adequate time for product to cool down.
Replace fuse or reset circuit breaker.
Clean the condenser coil.
Ensure doors are closed when not in use.
Avoid opening doors for long periods of time.
Turn of flight switch and turn it back on.
Make sure the bulb is correctly inserted in the
socket.
Replace the bulb.
Clean, repair, or replace the gasket as necessary.
- 7 -
