Decorelex F106SIX-RO Manuel du propriétaire - Page 16
Parcourez en ligne ou téléchargez le pdf Manuel du propriétaire pour {nom_de_la_catégorie} Decorelex F106SIX-RO. Decorelex F106SIX-RO 18 pages. Built-in oven

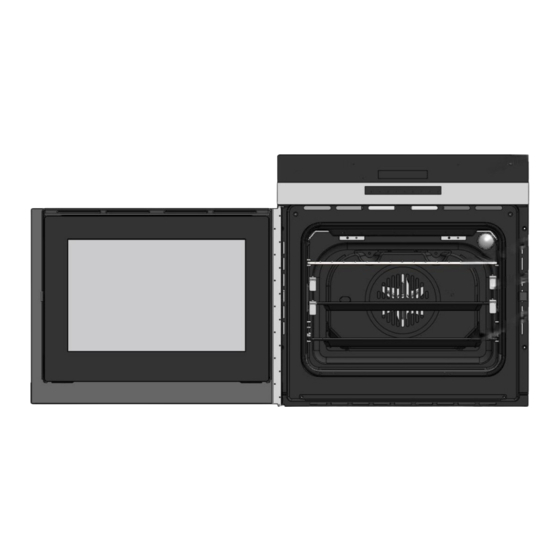
Oven door structures 2 or 3
N. B :Installation in compliance with the consumption declaration
In order to ensure adequate ventilation ,the back panel of the cabinet unit must be removed .Installing the oven
so that it rests on two strips of wood is preferable .If the oven rests on a continuous ,flat surface ,there must be an
aperture of at least 45×560mm .
The panels of the adjacent cabinets must be made of heat-resistant material .In particular ,cabinets with a veneer
exterior must be assembled with glues which can withstand temperatures of up to 100℃.
In compliance with current safety standards, contact with the electrical parts of the oven must not be possible
once it has been installed.
All parts, which ensure the safe operation of the appliance, must be removable only with the aid of a tool.
To fasten the oven to the cabinet, open the door of the oven and attach it by inserting the 4 wooden screws into
the 4 holes located on the perimeter of the frame.
Electrical Installation
All model ovens on the front cover are dual rated, designed to be connected to
Either 208/240V AC ,60Hz,3 wire ,two-phase power supply.
Circuit Required
208V,60Hz
240V,60Hz
12AMP
15AMP
The electrical supply should be 3-wire two-phase AC. Install a suitable conduit box(not furnished). An
appropriately-sized, U-listed conduit connector must be used to correctly attach the conduit to the junction box.
Important:
Local Codes may vary; installation, electrical connections and grounding must comply with all
applicable local codes.
lf local codes permit grounding through the electrical supply neutral, connect both the white neutral wire and the
bare ground wire from the oven to the white neutral electrical supply wire.
Three-wire Connection
Page 16 of 17
