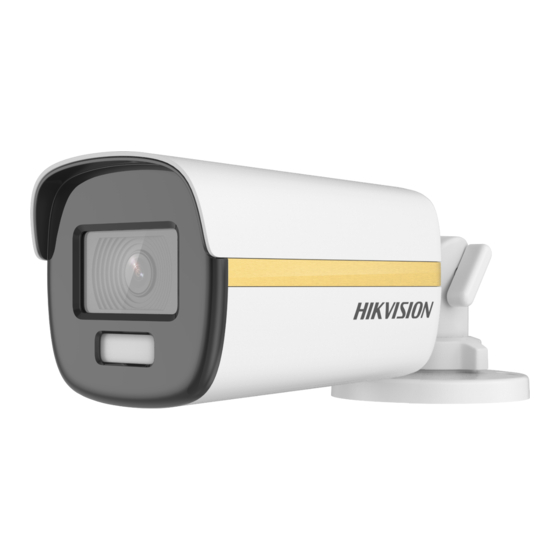
HIKVISION DS-2CE12UF3T-E Manuel de l'utilisateur - Page 11
Parcourez en ligne ou téléchargez le pdf Manuel de l'utilisateur pour {nom_de_la_catégorie} HIKVISION DS-2CE12UF3T-E. HIKVISION DS-2CE12UF3T-E 18 pages. 4k colorvu poc camera
Également pour HIKVISION DS-2CE12UF3T-E : Manuel de démarrage rapide (17 pages)

2.3
Installation of Type III Camera
2.3.1 Ceiling Mounting without Junction Box
Steps:
1. Paste the drill template (supplied) to the place
where you want to install the camera.
2. (Optional) For cement ceiling, drill the screw holes
with a 5.5 mm drill and insert the supplied wall
plugs.
3. Attach the gang box to the ceiling and secure it with
three PA4 × 25 screws (supplied).
Figure 2-12 Attach Gang Box to Ceiling
4. Fit the camera onto the gang box.
5. Turn the camera clockwise until it snaps into the
gang box.
Figure 2-14 Snap Camera into Gang Box
6. Connect the power cord and video cable.
7. Power on the camera to check whether the image
on the monitor is gotten from the optimum angle. If
not, adjust the camera according to the figure
below.
Pan Position
[0° to 360°]
1). Rotate the enclosure to adjust the pan position
[0° to 360°].
Figure 2-11 Drill Template
Figure 2-13 Fit Camera
Tilt Position
[0° to 75°]
Figure 2-15 3-Axis Adjustment
Rotation Position
5
[0° to 360°]
