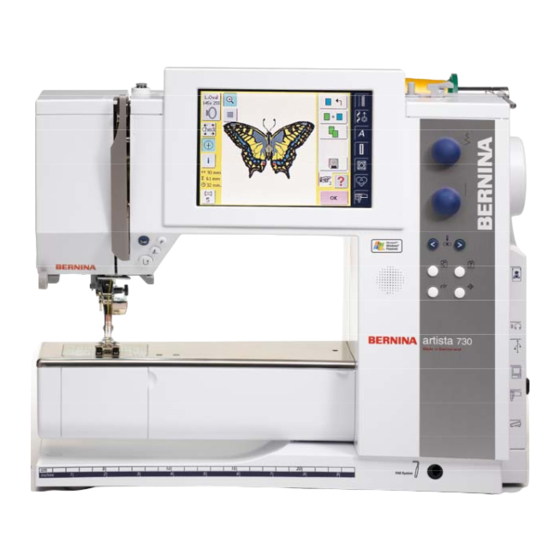
Bernina Artista 640 Cahier d'exercices - Page 12
Parcourez en ligne ou téléchargez le pdf Cahier d'exercices pour {nom_de_la_catégorie} Bernina Artista 640. Bernina Artista 640 16 pages. Workbook 3 creative options

- 1. Table of Contents
- 2. Setup Program
- 3. Stitch Collage
- 4. Long Stitch
- 5. Tapering Stitches
- 6. Multi-Directional Stitching
- 7. Free-Form Directional Stitching
- 8. All-Over Directional Stitching: Twisted Scrolls (BERNINA 830 Only)
- 9. All-Over Directional Stitching: Trailing Tulip Vines (Artista 730 Only)
- 10. All-Over Directional Stitching: Trailing Tulip Vines (BERNINA 830 Only)
- 11. Monograms
- 12. Artista 640 Functions
- 13. Artista 730 Functions
- 14. BERNINA 820 Functions
Firm woven fabric, 4" x 8" and
Fabric:
Heavyweight tear-away stabilizer, 4" x 8"
80/12 Universal
Needle:
30 wt. cotton embroidery
Thread:
center
Needle Position:
BERNINA Presser Foot:
This exercise has two decorative stitches programmed into memory
and stitched in rows. The tulip/leaf designs are connected by direc-
tional straight stitches to vary their positions as they are stitched.
The artista 730 requires the programming of the connecting stitches
(Straight stitch #39) but the BERNINA 830 will add the stitches
automatically once you select the connecting stitches icon.
Trailing Tulip Vines
Place stabilizer behind fabric; mark parallel guide lines about 1" apart
on the fabric as a reference for guiding during the stitching process.
BERNINA 830
Program the following stitches in Combi Mode:
- stitch #137; Up/Down Mirror Image; stitch #145
- stitch #145; Up/Down Mirror Image; stitch #137
- stitch #145; Up/Down Mirror Image; stitch #137
- stitch #137; Up/Down Mirror Image; stitch #145
Select the Multi-function icon; select Connecting Stitches icon.
Using the Stitch Width & Stitch Length knobs, move the tulips/leaves
into place, following the photo as a guide.
Multi-function—takes you to the Preview screen
Connecting Stitches —allows you to move stitch patterns
Retrieve—select the pattern you want to move
Move Single or Multiple Pattern—move stitch pattern(s)
Save the combination.
Stitch from one end of the fabric to the other, using
fingertip guiding to keep the presser foot parallel to the
drawn guidelines.
Stitch additional rows of this stitch combination, scrolling
through the stitches to start at different points.
7/27/11
All-Over Directional Stitching
BERNINA 830 only
Sideways Motion Foot #40C
Note: Some adjustments may be
necessary depending on the fabric,
thread, and stabilizer used to create
the stitch sample After stitching the
first line, examine the results and
make adjustments as necessary.
Do you know how to:
▪ Add Connecting stitches to a stitch
combination?
12
