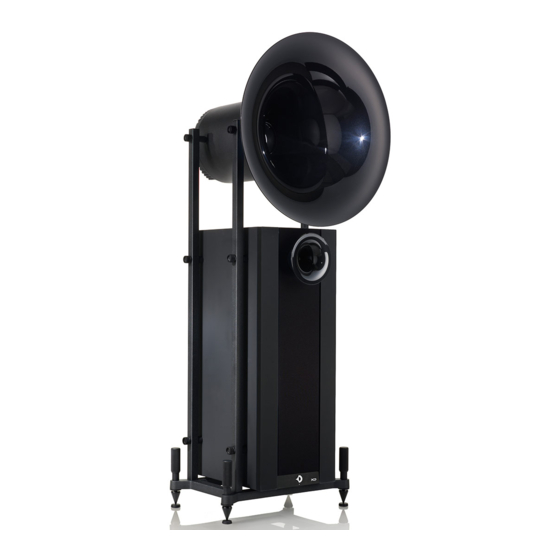
Avantgarde duo xd series Manuel de l'utilisateur - Page 4
Parcourez en ligne ou téléchargez le pdf Manuel de l'utilisateur pour {nom_de_la_catégorie} Avantgarde duo xd series. Avantgarde duo xd series 15 pages.

SYSTEM INSTALLATION
LIEFERUMFANG
• Die Verpackung des Lautsprechers:
2 x Papp-Kartonage mit dem Lautsprecher
2 x Papp-Kartonage mit den Hörnern
1 x Papp-Kartonage mit den Front-Paneelen
• Die Zubehörbox im Styrodurschutz (rechts):
1 x Öl (für Gummidichtung von Mitteltonhorn)
1 x Schwamm (zum Auftragen des Öls)
2 x Montageschraube (flach)
1 x Montageschraube (rund)
2 x Abstandshalter (flach)
1 x Abstandshalter (rund)
• Die Kabelbox im Styrodurschutz (links):
1 x Kabelbrücken
1 x Erdungskabel
1 x Netzkabel
1 x Ersatzsicherungen
AUSPACKEN DES LAUTSPRECHERSYSTEMS
Beim Auspacken und Aufstellen das hohe
Gewicht der Lautsprecher beachten! Für
diese Arbeiten empfehlen wir dringend die
Zuhilfenahme einer zweiten Person!
① Klammern entfernen
② Kartonage öffnen
③ Lautsprecher vorsichtig nach vorne herausziehen.
①
②
6
SYSTEM INSTALLATION
CONTENT OF PACKAGES
• The packing of the system consists of:
2 x boxes with the speaker body
2 x boxes with the horns
1 x box with the front panels
• The accessory box (in bottom left styrofoam box) contains:
1 x lubricating oil (for midrange rubber seal)
1 x sponge (to apply lubrication oil)
2 x mounting screws (plane)
1 x mounting screws (rounded)
2 x spacers (plane)
1 x spacers (rounded)
• The cable box (in bottom right styrofoam box) contains:
1 x Jumper cable
1 x Earthing cable
1 x Power cable
1 x Replacement fuses
UNPACKING THE SPEAKER SYSTEM
Please note the heavy weight of the speaker
system when unpacking and installing the
system. We strongly advise doing this work
only with the help of a second person!
① Remove the clamps.
② Open the box.
③ Carefully pull out the speaker to the front.
Zubehör– bzw. Kabelbox
Accessory box or cable box
SYSTEM INSTALLATION
MONTAGE DES LAUTSPRECHERSYSTEMS
④ System aus der unteren Styrodur Verpackung heben.
Um das Gewicht beim Herausheben des Lautsprechers
zu verringern, kann die obere Styrodur–Verpackung
des Mitteltöners auch vorab abgehoben werden.
Siehe Schritt ⑤ – ⑧
⑤ Obere Styrodur–Verpackung des Mitteltöners abheben.
⑥ Mittelton–Zylinder herausheben.
⑧ Untere Styrodur–Verpackung des Mitteltöners abheben.
Mittelton–Zylinder an das Gestell anschrauben.
⑨
a) obere Montageschrauben am Subwoofer etwas
⑨
lockern, um die lichte Weite zwischen den Gestell-
stangen zu vergrößern.
b) Mittelton–Zylinder (mit dem offenen Ende nach vorne
⑨
zeigend) mit den beiliegenden Montageschrauben an
das Gestell anschrauben.
c) obere Montageschrauben am Subwoofer anziehen.
⑨
⑤
④
SYSTEM INSTALLATION
SPEAKER ASSEMBLY
④ Lift speaker from the bottom styrofoam box.
Lift the upper styrofoam box of midrange cylinder
before, to reduce the overall weight when carying the
speaker system.
See step ⑤ – ⑧
⑤ Lift upper styrofoam box of midrange cylinder.
⑥ Remove midrange cylinder
⑧ Lift bottom styrofoam box of midrange cylinder
⑨ Mount the midrange cylinder to the rails by:
⑨ a) loosen the upper screws of the subwoofer to get
more clearance between the frame rails of the
speaker stand.
⑨ b) mount the midrange tube (open side facing to the
front) with the spacers and mounting screws to the
frame.
⑨ c) retighten the upper screws of the subwoofer.
⑥
⑧
⑨
b
⑨
a
7
