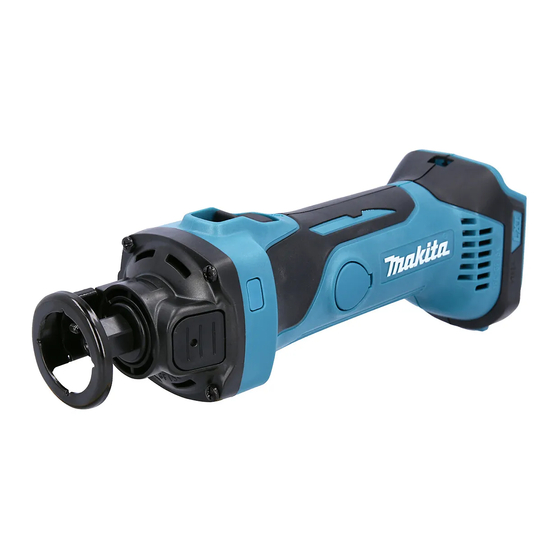
Makita DCO180 Manuel d'instruction - Page 7
Parcourez en ligne ou téléchargez le pdf Manuel d'instruction pour {nom_de_la_catégorie} Makita DCO180. Makita DCO180 13 pages. Cordless cut-out tool
Également pour Makita DCO180 : Manuel d'instruction (13 pages), Informations techniques (8 pages)

Overheat protection
This protection works when the tool or battery is over-
heated. In this situation, let the tool and battery cool
before turning the tool on again.
Overdischarge protection
This protection works when the remaining battery
capacity gets low. In this situation, remove the battery
from the tool and charge the battery.
Adjusting depth of cut
2
► 1. Thumb screw 2. Shoe
To adjust the shoe, loosen the thumb screw. Slide the
shoe to the desired position and then tighten the thumb
screw securely. Check for the proper clearance beneath
the workpiece before cutting not to strike a hard surface
such as the floor, workbench, etc.
Switch action
CAUTION:
•
Before installing the battery cartridge into the
tool, always check to see that the slide switch
actuates properly and returns to the "OFF"
position when the rear of the slide switch is
depressed.
► 1. Slide switch
To start the tool, slide the slide switch toward the "I
(ON)" position. For continuous operation, press the
front of the slide switch to lock it.
To stop the tool, press the rear of the slide switch, then
slide it toward the "O (OFF)" position.
1
1
7 ENGLISH
Accidental re-start preventive
function
Even if the battery cartridge is installed on the tool with
the slide switch in the "I (ON)" position, the tool does
not start.
To start the tool, first slide the slide switch toward the
"O (OFF)" position and then slide it toward the "I (ON)"
position.
ASSEMBLY
CAUTION:
•
Always be sure that the tool is switched off and
the battery cartridge is removed before adjust-
ing or checking function on the tool.
Installing or removing bit
CAUTION:
•
Do not tighten the collet nut without installing a
bit, or the collet cone may break.
4
1
2
► 1. Collet nut 2. Shoe 3. Shaft lock 4. Tighten
5. Loosen
Press the shaft lock to prevent shaft rotation when
installing or removing the bit.
To install the bit, place it in the collet cone as far as it
goes and then tighten the collet nut securely with the
shoe as a wrench.
To remove the bit, follow the installation procedure in
reverse.
Changing the collet cone (country
specific)
CAUTION:
•
Use the correct size collet cone for the bit which
you intended to use.
•
Do not tighten the collet nut without installing a
bit, or the collet cone may break.
5
3
