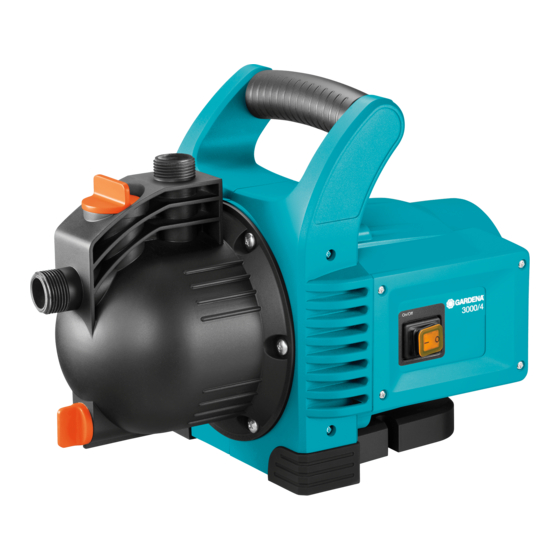
4. Operation
Filling the pump:
5
6
7
1
5
min. 1 m
1
5. Putting into Storage
Overwintering / Storage:
9
Disposal:
(in accordance with
RL 2012/19/EU)
14
DANGER! Electric shock!
Risk of injury due to electric shock.
v Disconnect from the mains before filling the
Garden Pump.
ATTENTION! Dry-Running
v Before each operation, fill the pump to overflowing
with approx. 2 to 3 l of the liquid to be pumped!
1. Unscrew the screw fitting
2. Fill the pump via the filler cap
approx. 2 to 3 l of the liquid to be pumped.
8
3. Tighten the screw fitting
(do not use pliers).
4. Open any shut-off valves in the delivery line (accessories,
water stop, etc.).
5. Drain remaining water
escape during the suction process.
6. Insert the power plug.
7. Lift and hold the delivery hose
the pump, press the On/Off switch
and wait until the pump has primed.
v If the pump does not deliver after approx. 5 minutes,
switch off the pump (press On/Off switch
(see 7. Trouble-Shooting).
The specified maximum self-priming suction height of 7 m is
reached only if the pump is filled via the filler neck
overflow and if, while doing so and during the self-priming, the
delivery hose
is held up sufficiently high to prevent any flow
5
medium escaping from the pump via the delivery hose
Before the start of the frost period the Garden Pump should be
stored protected from frost.
1. Open the water drain screw
The Garden Pump drains.
2. Store your Garden Pump so that it is protected from frost.
The product must not be added to normal household waste.
It must be disposed of in line with local environmental regulations.
of the filler cap
6
7
to overflowing with
7
of the filler cap
6
7
in pressure hose so that air can
5
at least 1 m vertically above
5
8
(On/Off switch shines)
.
9
by hand.
by hand
8
)
up to the
7
.
5