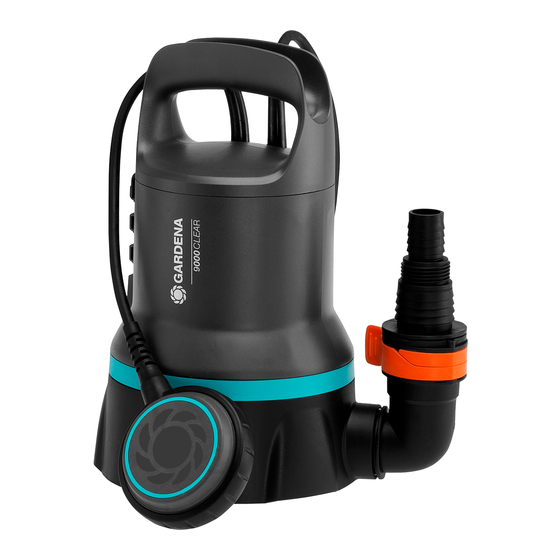
Gardena 9000CLEAR Manuel de l'opérateur - Page 6
Parcourez en ligne ou téléchargez le pdf Manuel de l'opérateur pour {nom_de_la_catégorie} Gardena 9000CLEAR. Gardena 9000CLEAR 14 pages. Clear water submersible pump/ dirty water submersible pump

Take care that the pump is located where the inlet open-
ings at the suction base are not obstructed neither com-
pletely nor partly.
Stand the pump on a brick if using in a pond.
If the suction process is close to the minimum water level
at start-up, the suction process may take longer.
1. Immerse the pump.
2. Connect the pump to the mains.
Attention! The pump can start immediately depending
on the float switch setting.
Automatic mode with float switch [ Fig. O1 ]:
By adjusting the float switch
sibility to determine the switching heights. For safe
operation, the float switch must be able to move
freely around the pump.
To adjust the Cut-in and Cut-out Height [ Fig. O1 ]:
The maximum cut-in height and minimum cut-out height
(see 7. TECHNICAL DATA) can be adjusted by pushing the
float switch wire into the float switch lock.
• The higher the cable is clamped, the higher the cut-in
and cut-out height.
• The shorter the length of cable between the float
(5)
switch
and the float switch lock
cut-in height and the higher the cut-out height.
4. MAINTENANCE
DANGER! Risk of injury!
Injury when the product starts accidentally.
v Disconnect the product from the mains before
you maintain the product.
To clean the pump:
DANGER! Risk of injury!
Risk of injury and risk of damage to the
product.
v Do not clean the product with a water jet
(in particular high-pressure water jet).
v Do not clean with chemicals including petrol or
solvents. Some can destroy critical plastic parts.
v Clean the surface of the pump with a damp cloth.
5. STORAGE
To put into storage:
The pump is not frost-proof!
The product must be stored away from children.
1. Disconnect the pump from the mains.
2. Turn the pump upside down until no more water runs
out.
3. Clean the pump (see 4. MAINTENANCE).
4. Store the pump in a dry, enclosed and frost-free place.
14
(5)
you have the pos-
(A)
, the lower the
1. Push the cable of the float switch
openings of the float switch lock
2. Check that the pump switches off automatically.
CAUTION!
v In order to ensure that the float switch is able to
switch on and off, the cable length between the
float switch and the float switch lock must be at
least 10 cm.
Manual operation [ Fig. O2 ]:
The pump remains permanently in operation because
the float switch is bypassed.
(5)
1. Slide the float switch
the float switch locking device
2. Place the pump on a firm surface.
3. Connect the pump to the mains.
Attention! The pump begins operating immediately.
The pump runs permanently without dry-running protection
due to the bypassed float switch. To avoid damage due to
dry running, only operate under supervision.
The minimum residual water depth (see 7. TECHNICAL
DATA) is only achieved in manual mode because the float
switch already switches off the pump before this when in
automatic mode.
To flush the pump:
After pumping water containing chlorine, detergents or
heavily soiled water, the pump must be flushed.
1. Pump lukewarm water (max. 35 °C), possibly adding
a mild cleaning agent (e. g. detergent) until the pumped
water runs clear.
2. Remove residuals according to the waste disposal laws
applicable in your area.
Disposal:
(in accordance with RL2012/19/EC)
The product must not be disposed of to normal
household waste. It must be disposed of in line
with local environmental regulations.
IMPORTANT!
v Dispose of the product through or via your municipal
recycling collection centre.
(11)
into one of the
(A)
.
with the cable downwards onto
(A)
.
