Gardena 1242 Manuel d'utilisation - Page 9
Parcourez en ligne ou téléchargez le pdf Manuel d'utilisation pour {nom_de_la_catégorie} Gardena 1242. Gardena 1242 15 pages. Programming unit
Également pour Gardena 1242 : Manuel d'utilisation (15 pages), Manuel d'utilisation (15 pages)

Manual watering :
Setting the manual
watering time :
6. Trouble-Shooting
Fault
No display
Battery flat after a short
operating period
Faults during data
transmission
ERROR 1
flashes on the display
(no connection to
Control Unit)
20
Manual Watering
Prerequisite :
The lever of the Irrigation Valve must be set to the "AUTO"
position.
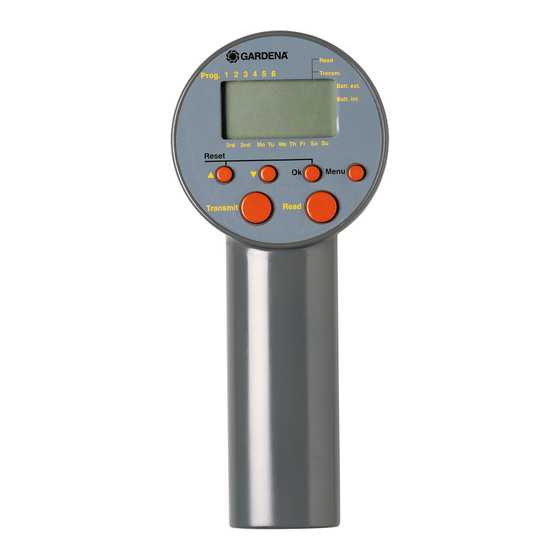
1. Press the
key on the Control Unit.
Manual watering starts.
2. Press the
key on the Control Unit during
manual watering.
Manual watering is ended prematurely.
After putting the Programming Unit into operation, the
manual watering time is pre-set to 30 minutes (
1. Call the main level. The time and day are displayed.
2. Press and hold down the Ok key for 5 seconds.
MANUAL RUN-TIME
and the hours flash.
3. Set the hours for the watering time using the ▲-▼ keys
(for example
0
hours) and confirm by pressing the Ok key.
MANUAL RUN-TIME
and the minutes flash.
4. Set the minutes for the watering time using the ▲-▼ keys
(for example
20
minutes) and confirm by pressing the Ok key.
The changed manual watering time is saved in the Program-
ming Unit and the main level is displayed.
Tip : If you have questions about programming the Programming
Unit, please do not hesitate to contact GARDENA Service.
Possible cause
Energy-saving stand-by mode
has switched on.
No battery or battery flat.
Outside temperature
below – 10 °C or
above
Alkaline battery was not used.
Plug connection dirty.
Control Unit not connected
or connected incorrectly.
No contact at the plug con-
nection.
No battery in the Control Unit.
Remedy
v Press any key.
The display shows the main
level.
v Insert battery (refer to
4. Putting into Operation).
v Wait until the operating
+ 50 °C.
temperature range is
reached again.
v Use an alkaline battery of
the type 9 V IEC 6LR61.
v Clean using a soft cloth or
brush (do not use solvent).
v Connect Control Unit
completely, push on as
far as possible.
v Check contact at the plug
connection.
v Replace battery in Control
Unit.
0 : 30
).
