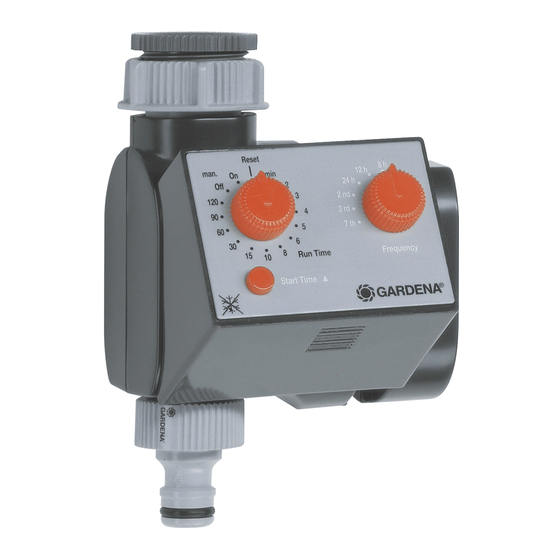
Gardena 1806 Instructions de démarrage - Page 13
Parcourez en ligne ou téléchargez le pdf Instructions de démarrage pour {nom_de_la_catégorie} Gardena 1806. Gardena 1806 20 pages.

To prevent water penetrating the battery compartment, the Water
.
Timer may only be installed in a perpendicular position with the
sleeve nut pointing upwards.
The control unit must be attached to the Water Timer during
.
operation.
Warning ! Only use the water timer outdoors.
.
The water timer is not approved for indoor use.
Check the filter in the sleeve nut
.
sary.
Avoid tensile strain. Do not pull the hose connected to the Water
.
Timer.
Only use clear fresh water.
.
13. Options
13.1 Anti-Theft Protection (Fig. D)
To protect your Water Timer against theft, the GARDENA anti-theft
protection (1815 - 00 .791. 00) is available at GARDENA Service.
The bracket on the anti-theft protection is fitted onto the back of the
unit. Note that the screw included cannot be loosened once it has been
screwed in. The bracket can be used, for example, to attach a chain.
13.2 GARDENA Soil Moisture Sensor (Fig. E)
Together with the GARDENA Soil Moisture Sensor Art. No. 1187 watering
is controlled considering the soil moisture.
Assembly
The Soil Moisture Sensor is connected to the socket
the control unit (Fig. A).
How it works
If the connected Soil Moisture Sensor indicates there is sufficient moisture
then the watering program is either interrupted or not initiated.
Note : Manual watering (On, Off) is still possible.
A
regularly and clean if neces-
8
on the back of
13
