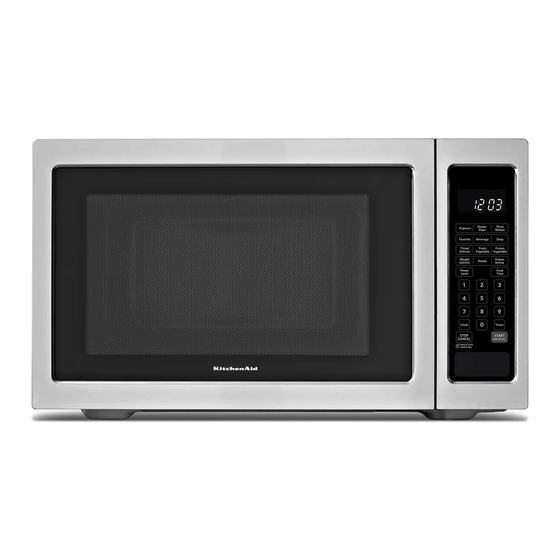
KitchenAid UMC5165AS Manuel d'installation - Page 4
Parcourez en ligne ou téléchargez le pdf Manuel d'installation pour {nom_de_la_catégorie} KitchenAid UMC5165AS. KitchenAid UMC5165AS 12 pages. Use & care guide
Également pour KitchenAid UMC5165AS : Manuel d'utilisation et d'entretien (16 pages), Manuel d'utilisation et d'entretien (16 pages)

3. Align the center arrows on the bottom duct with the centerline
drawn in Step 1 above.
A
A. Bottom duct
B. Center arrows, aligned with centerline
4. Mark the three mounting holes through the bottom duct onto
the cutout floor.
A
A. Short screws (3)
B. Bottom duct mounting holes
5. Using 7/64" drill, drill pilot holes into the three holes marked in
Step 4.
6. Realign and install the bottom duct with three short screws.
7. Using 7/64" drill, drill pilot holes through the four mounting
holes of the bottom duct flange into the bottom front facing of
the cutout/cabinet opening.
A
A. Bottom duct flange
B. Mounting holes
4
B
B
B
Install the Microwave Oven
1. Gently return microwave oven to its upright position.
2. Position microwave oven near cutout opening.
WARNING
Electrical Shock Hazard
Plug into a grounded 3 prong outlet.
Do not remove ground prong.
Do not use an adapter.
Do not use an extension cord.
Failure to follow these instructions can result in death,
fire, or electrical shock.
3. Plug in microwave oven.
4. Align the rails with the rail guides on the bottom duct.
A. Rail guides
B. Rails
A
B
