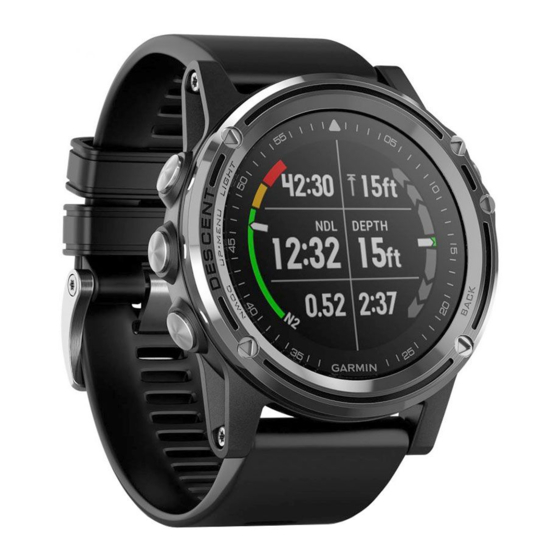
Garmin Descent MK1 Manuel du propriétaire - Page 23
Parcourez en ligne ou téléchargez le pdf Manuel du propriétaire pour {nom_de_la_catégorie} Garmin Descent MK1. Garmin Descent MK1 46 pages.

2
Select an activity.
3
Go for a run or ride.
When you approach a segment, a message appears, and
you can race the segment.
4
Start racing the segment.
A message appears when the segment is complete.
Using Virtual Partner
Your Virtual Partner is a training tool designed to help you meet
your goals. You can set a pace for the Virtual Partner and race
against it.
NOTE: This feature is not available for all activities.
1
Hold UP.
2
Select Settings > Activities & Apps.
3
Select an activity.
4
Select the activity settings.
5
Select Data Screens > Add New > Virtual Partner.
6
Enter a pace or speed value.
7
Start your activity
(Starting an Activity, page
8
Select UP or DOWN to scroll to the Virtual Partner screen
and see who is leading.
Setting a Training Target
The training target feature works with the Virtual Partner feature
so you can train toward a set distance, distance and time,
distance and pace, or distance and speed goal. During your
training activity, the device gives you real-time feedback about
how close you are to achieving your training target.
1
From the watch face, select
2
Select an activity.
3
Hold UP.
4
Select Training > Set a Target.
5
Select an option:
• Select Distance Only to select a preset distance or enter
a custom distance.
• Select Distance and Time to select a distance and time
target.
• Select Distance and Pace or Distance and Speed to
select a distance and pace or speed target.
The training target screen appears and displays your
estimated finish time. The estimated finish time is based on
your current performance and the time remaining.
6
Select
to start the timer.
Cancelling a Training Target
1
During an activity, hold UP.
2
Select Cancel Target > Yes.
Racing a Previous Activity
You can race a previously recorded or downloaded activity. This
feature works with the Virtual Partner feature so you can see
how far ahead or behind you are during the activity.
NOTE: This feature is not available for all activities.
1
From the watch face, select
2
Select an activity.
3
Hold UP.
4
Select Training > Race an Activity.
5
Select an option:
• Select From History to select a previously recorded
activity from your device.
Clock
®
4).
.
.
• Select Downloaded to select an activity you downloaded
from your Garmin Connect account.
6
Select the activity.
The Virtual Partner screen appears indicating your estimated
finish time.
7
Select
to start the timer.
8
After you complete your activity, select
Personal Records
When you complete an activity, the device displays any new
personal records you achieved during that activity. Personal
records include your fastest time over several typical race
distances and longest run or ride.
NOTE: For cycling, personal records also include most ascent
and best power (power meter required).
Viewing Your Personal Records
1
Hold UP.
2
Select History > Records.
3
Select a sport.
4
Select a record.
5
Select View Record.
Restoring a Personal Record
You can set each personal record back to the one previously
recorded.
1
Hold UP.
2
Select History > Records.
3
Select a sport.
4
Select a record to restore.
5
Select Previous > Yes.
NOTE: This does not delete any saved activities.
Clearing a Personal Record
1
Hold UP.
2
Select History > Records.
3
Select a sport.
4
Select a record to delete.
5
Select Clear Record > Yes.
NOTE: This does not delete any saved activities.
Clearing All Personal Records
1
Hold UP.
2
Select History > Records.
NOTE: This does not delete any saved activities.
3
Select a sport.
4
Select Clear All Records > Yes.
The records are deleted for that sport only.
Setting an Alarm
You can set up to ten separate alarms. You can set each alarm
to sound once or to repeat regularly.
1
From the watch face, hold UP.
2
Select Clock > Alarm Clock > Add Alarm.
3
Select Time, and enter the alarm time.
4
Select Repeat, and select when the alarm should repeat
(optional).
5
Select Sounds, and select a type of notification (optional).
6
Select Backlight > On to turn on the backlight with the alarm.
> Save.
Clock
17
