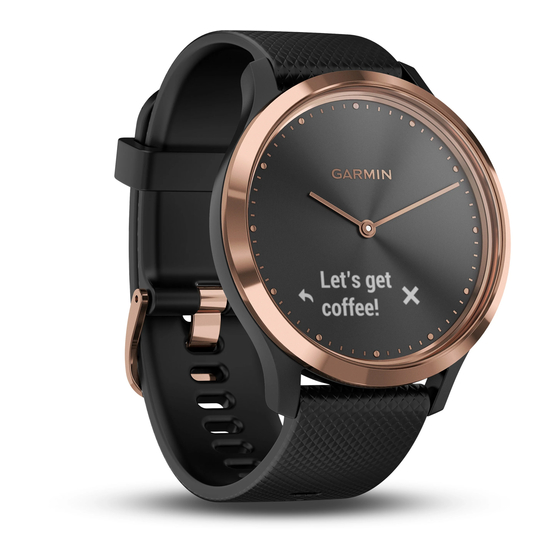
Garmin vivomove HR Manuel du propriétaire - Page 7
Parcourez en ligne ou téléchargez le pdf Manuel du propriétaire pour {nom_de_la_catégorie} Garmin vivomove HR. Garmin vivomove HR 16 pages.

Starting a Relaxation Timer
You can start the relaxation timer to begin a guided breathing
exercise.
1
Swipe to view the stress level screen.
2
Tap the touchscreen.
The stress level graph appears.
3
Swipe to select Relax Timer.
4
Select
or
to set the relaxation timer.
5
Tap the center of the touchscreen to select the time and
move to the next screen.
6
Double tap the touchscreen to start the relaxation timer.
7
Follow the on-screen instructions.
8
View your updated stress level when the relaxation timer is
complete.
Sleep Tracking
While you are sleeping, the device automatically detects your
sleep and monitors your movement during your normal sleep
hours. You can set your normal sleep hours in the user settings
on your Garmin Connect account. Sleep statistics include total
hours of sleep, sleep levels, and sleep movement. You can view
your sleep statistics on your Garmin Connect account.
NOTE: Naps are not added to your sleep statistics. You can use
do not disturb mode to turn off notifications and alerts, with the
exception of alarms
(Using Do Not Disturb Mode, page
VIRB Remote
The VIRB remote function allows you to control your VIRB
action camera using your device. Go to
to purchase a VIRB action camera.
Controlling a VIRB Action Camera
Before you can use the VIRB remote function, you must enable
the remote setting on your VIRB camera. See the VIRB Series
Owner's Manual for more information. You must also enable the
VIRB screen on your vívomove HR device
Your Garmin Connect Account, page
1
Turn on your VIRB camera.
2
On your vívomove HR device, swipe to view the VIRB
screen.
3
Wait while the device connects to your VIRB camera.
4
Select an option:
• To record video, select
The video counter appears on the vívomove HR device.
• To stop recording video, select
• To take a photo, select
Training
Recording a Timed Activity
You can record a timed activity, which can be saved and sent to
your Garmin Connect account.
1
Hold the touchscreen to view the menu.
2
Select .
3
Swipe to scroll through the activity list:
• Select
for walking.
• Select
for running.
• Select
for a cardio activity.
• Select
for strength training.
• Select
for other activity types.
4
Double tap the touchscreen to start the timer.
Training
5).
www.garmin.com/VIRB
(Device Settings on
7).
.
.
.
5
Start your activity.
6
Swipe to view additional data screens.
7
After you complete your activity, double tap the touchscreen
to stop the timer.
TIP: You can double tap the touchscreen to resume the
timer.
8
Swipe to select an option:
• Select
to save the activity.
• Select
to delete the activity.
Recording a Strength Training Activity
You can record sets during a strength training activity. A set is
multiple repetitions (reps) of a single move.
1
Hold the touchscreen to view the menu.
2
Select
>
.
3
Double tap the touchscreen to start the timer.
4
Start your first set.
The device counts your reps. Your rep count appears when
you complete at least 6 reps.
5
Swipe to view additional data screens (optional).
6
Select
to finish a set.
A rest timer appears.
7
During a rest, select an option:
• To view additional data screens, swipe the touchscreen.
• To edit your rep count, select Edit Reps, select
and tap the center of the touchscreen.
8
Select
to start your next set.
9
Repeat steps 6 through 8 until your activity is complete.
10
Double tap the touchscreen to stop the timer.
11
Swipe to select an option:
• Select
to save the activity.
• Select
to delete the activity.
Tips for Recording Strength Training Activities
• Do not look at the device while performing reps.
You should interact with the device at the beginning and end
of each set, and during rests.
• Focus on your form while performing reps.
• Perform bodyweight or free weight exercises.
• Perform reps with a consistent, wide range of motion.
Each rep is counted when the arm wearing the device returns
to the starting position.
NOTE: Leg exercises may not be counted.
• Turn on automatic set detection to start and stop your sets.
• Save and send your strength training activity to your Garmin
Connect account.
You can use the tools in your Garmin Connect account to
view and edit activity details.
Alerts
You can use alerts to train toward specific time, distance,
calories, and heart rate goals.
Setting a Recurring Alert
A recurring alert notifies you each time the device records a
specified value or interval. For example, you can set the device
to alert you every 100 calories. You can use your Garmin
Connect account to customize the specified values or intervals
for recurring alerts
(Activity Profile Settings on Your Garmin
Connect Account, page
7).
1
Hold the touchscreen to view the menu.
or
,
3
