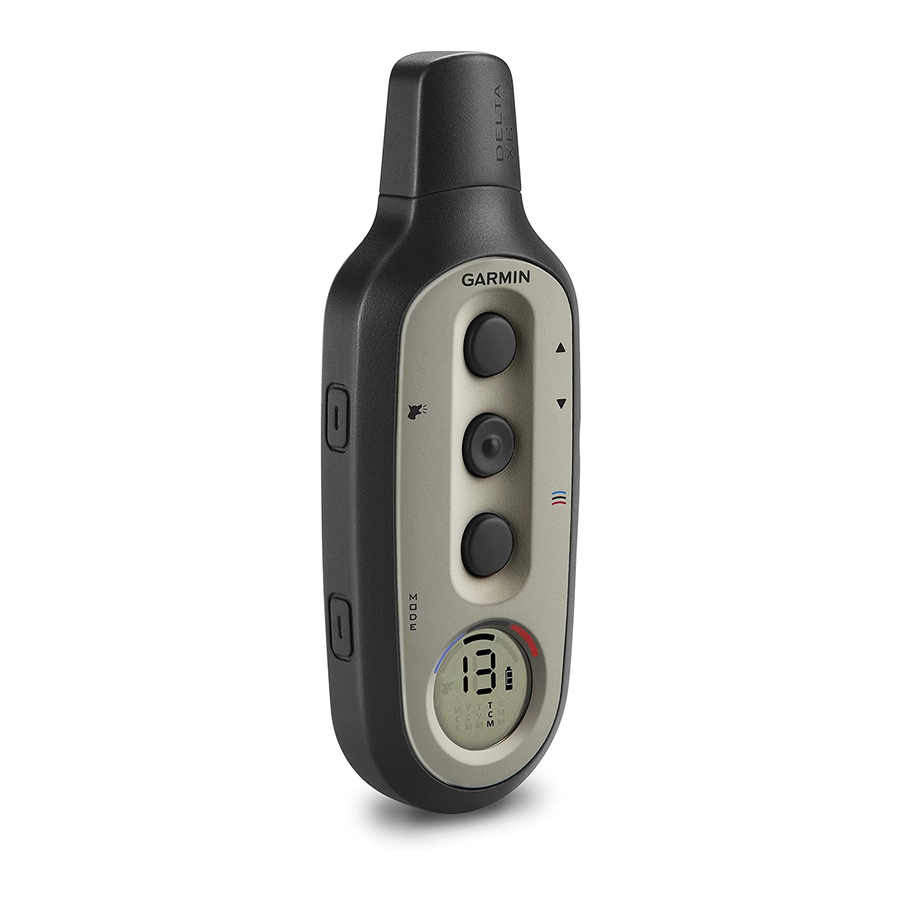
Garmin Delta XC Series Manuel du propriétaire - Page 18
Parcourez en ligne ou téléchargez le pdf Manuel du propriétaire pour {nom_de_la_catégorie} Garmin Delta XC Series. Garmin Delta XC Series 25 pages.
Également pour Garmin Delta XC Series : Manuel du propriétaire (14 pages)

- 1. Getting Started
- 2. Device Overviews
- 3. Charging the Handheld Device
- 4. Charging the Dog Collar Device
- 5. Turning on the Devices
- 6. Selecting a Dog Collar Device
- 7. Selecting and Installing the Contact Points
- 8. Training Intensities and Methods
- 9. Enabling Barklimiter Mode
- 10. Changing the Intensity Level
- 11. Device Information
- 12. Delta XC Handheld Device Specifications
- 13. Specifications
- 14. Mise en Route
batteries in both devices are fully charged
and the intensity level is set higher than 0.
Selecting a Dog Collar Device
Before you can select and control a dog
collar device, you must pair the dog collar
device with the
handheld
device (page 5).
Select
:=:
to choose the color.
__..._indicates
the selected
color.
The training keys control the dog collar
device associated with the selected color.
Selecting and Installing the Contact
Points
For best results, select the correct contact
points based on your dog's coat.
1
Select the correct contact point length
for your dog's coat type:
•
For
dogs with thicker
coats,
use
the longer
contact
points.
• For dogs with shorter
coats,
use
the shorter contact points.
2
If necessary, use the included wrench
to remove the contact points.
3
Twist the contact points into the collar.
4
Tighten with the included wrench, but
do not overtighten.
6
When you put the collar on the dog, make
sure the contact points are tight against
the neck.
Fitting the Collar on Your Dog
.&
CAUTION
To prevent irritation from the contact
points,
remove the collar for at least eight
hours out of every 24-hour period.
This device is not intended for human use.
Do not attempt to use on any person.
In order to properly correct the
dog,
the
collar and device must fit the dog
properly.
If the collar is too loose or positioned
incorrectly,
corrections may be
inconsistent. This can delay or prevent
successful training.
1
Position
the
device at the
front
of the
dog's
neck,
with
the
status LED
facing
toward the dog's chin and the contact
points against the throat.
TIP:
For bark
correction,
the device
contact points should be positioned
near
the
dog's vocal cords. This
location
varies based on the breed of
dog.
If
the device does not seem to
detect the dog's
barks,
you should
Quick Start
Manual
