Brother Business Smart MFC-J4510dw Manuel - Page 18

Parcourez en ligne ou téléchargez le pdf Manuel pour {nom_de_la_catégorie} Brother Business Smart MFC-J4510dw. Brother Business Smart MFC-J4510dw 36 pages. Quick setup guide - spanish
Également pour Brother Business Smart MFC-J4510dw : Manuel (22 pages), Manuel de sécurité des produits (17 pages), Manuel (13 pages), Manuel (22 pages), Manuel d'installation rapide (47 pages), Manuel (18 pages), Manuel d'installation rapide (47 pages), Brochure & Specs (4 pages), Manuel de sécurité des produits (20 pages), Spécifications (2 pages), Manuel d'installation rapide (47 pages), Manuel de démarrage rapide (29 pages), Manuel de sécurité des produits (25 pages), (Espagnol) Manuel Guia De Web Connect (38 pages), (espagnol) Manuel (24 pages), (anglais) Product Safety Guide Manual (16 pages), (espagnol) Manuel (11 pages), (anglais) Quick Configuration Guide (47 pages)
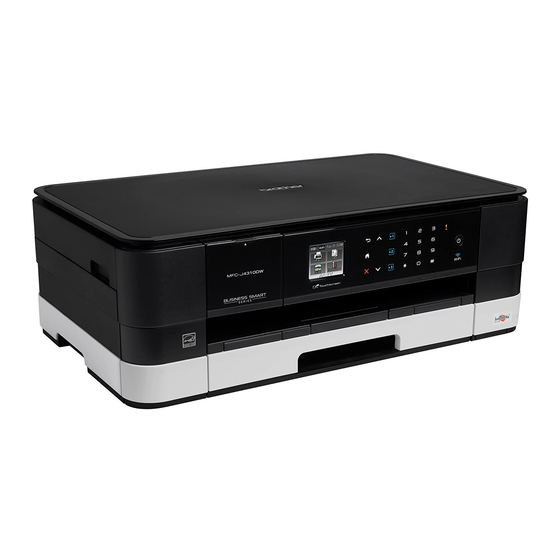
Brother Business Smart MFC-J4510dw Manuel
Download
k
Press s or t to display the desired album
Some services do not require images to be saved in albums. For images not saved in albums, select
See Unsorted Photos to select images. Other users' images cannot be downloaded if they are not
saved in an album.
1
An album is a collection of images. However, the actual term may differ depending on the service you use.
When using EVERNOTE
l
Press s or t to display the desired image, and press it.
Confirm the image on the LCD and press OK.
Repeat this step until you have chosen all the images that you want to print (you can select up to 10
images).
m
After you have chosen all of the desired images, press OK.
n
The print settings screen will be displayed. Do one of the following:
To change print settings, see How to change print settings on page 16. After changing the print
settings, go to step o.
If you do not want to change print settings, press OK.
o
Press OK to print.
The machine starts downloading and printing the image(s).
p
Press
.
NOTE
(For MFC-J4610DW)
When downloading and printing JPEG files, you cannot print from Tray2.
1
, and press it.
®
, you must select the notebook, and then select the note.
2
15