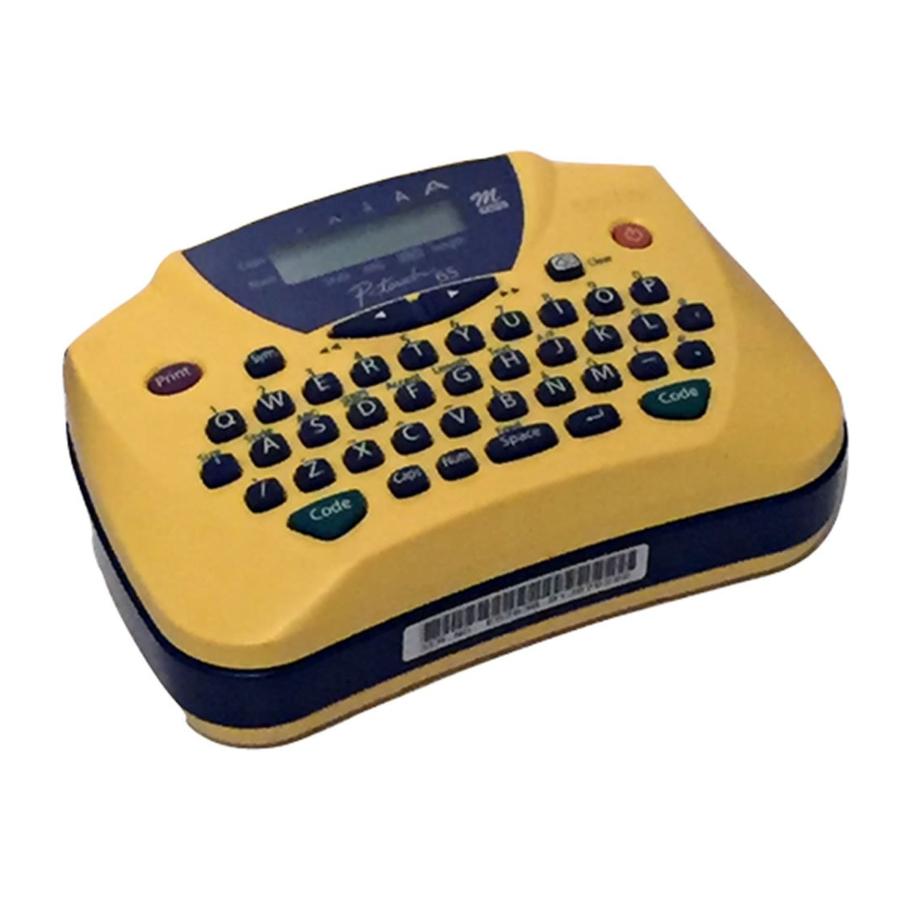
Brother P-Touch Home & Hobby PT-65 Notice d'utilisation - Page 2
Parcourez en ligne ou téléchargez le pdf Notice d'utilisation pour {nom_de_la_catégorie} Brother P-Touch Home & Hobby PT-65. Brother P-Touch Home & Hobby PT-65 4 pages. Labeler with lcd screen
Également pour Brother P-Touch Home & Hobby PT-65 : Notice d'utilisation (2 pages)

When inserting new batteries, always insert them pos-
itive end first. When removing old batteries, always
remove them negative end first.
Always replace all six batteries at the same time with
brand new ones.
4) Attach the back cover by inserting the two hooks on the
bottom end of the back cover into the slots on the bot-
tom end of the machine, then pushing down firmly on
the cover until it snaps into place.
Changing the tape cassette
1) Remove the back cover by pressing in on the rough
area at the top end of the machine and pulling off the
back cover.
2) If a tape cassette is already installed, pull it straight out
and remove the paper tab from the new tape cassette.
Make sure that the end of the tape in the new cassette
feeds under the tape guides.
The tape that is provided with the P-touch
Home&Hobby is a 13.3' long (4m) starter tape. Tapes
available for purchase are 26.2' (8m) long.
3) Insert the tape cassette, making sure that it clicks into place.
Check that the cassette fits properly around the two
metal guides in the cassette compartment.
Metal guides
4) Attach the back cover by inserting the two hooks on the
bottom end of the back cover into the slots on the bot-
tom end of the machine, then pushing down firmly on
the cover until it snaps into place.
5) Feed the tape by holding down
then cut the tape by pressing in on the tape cutter button.
The amount of tape remaining is visible through the
window in the back of the P-Touch.
When the usable tape is finished, green ribbon appears.
Changing the cutter unit
When the cutter becomes blunt and ceases to cut the tape
cleanly, replace it.
1) Remove the back cover and the tape cassette.
2) Grasp the tab on the top of the cutter unit and pull out
the cutter, taking care not to touch the blade.
Tape guides
Tape cutter
button
and pressing
3) Grasp the tab on the new cutter unit and insert it as
shown below.
Tab
Cutter unit
Tape exit slot
CAUTION
•
When changing the cutter unit, be sure not to
touch the cutter blade.
•
Keep the cutter unit in a safe place that is out of
the reach of small children.
Cleaning the print head
If dust accumulates on the print head, blank horizontal
lines may appear through the printed label. If this hap-
pens, clean the print head as follows:
1) Turn off the P-Touch.
2) Remove the back cover and the tape cassette.
3) Use a dry cotton swab to gently wipe the print head
and rubber pinch roller with an up-and-down motion.
Thermal print head
4) Re-insert the tape cassette, attach the back cover, turn
on the machine, hold down
the tape, and then try printing.
5) If blank lines remain in the printed label, repeat steps 1
through 4, this time using a cotton swab dipped in iso-
propyl (rubbing) alcohol.
Accessories
The following accessories are available:
Tape cassettes
,
Black on silver
Black on gold
Black on blue
Black on green
Black on pink
Black on white
Replacement cutter
unit
Carrying case
Most retailers and distributors carry a full line of tape cas-
settes. If you wish to order accessories for your P-Touch
direct from Brother, please refer to the "Accessory Order
Form" included separately, or visit our web site
"http://www.brothermall.com".
Rubber pinch
roller
and press
1/2" (12 mm)
3/8" (9 mm)
$9.99 (SRP)
$8.99 (SRP)
M-931
M-921
M-831
M-821
M-531
M-521
M-731
M-721
M-E31
M-E21
M-231
TC7 $9.95 (SRP)
6991 $17.99
to feed
