Brother QL 570 - P-Touch B/W Direct Thermal Printer Manuel de configuration et d'utilisation - Page 15

Parcourez en ligne ou téléchargez le pdf Manuel de configuration et d'utilisation pour {nom_de_la_catégorie} Brother QL 570 - P-Touch B/W Direct Thermal Printer. Brother QL 570 - P-Touch B/W Direct Thermal Printer 45 pages. Professional label printer
Également pour Brother QL 570 - P-Touch B/W Direct Thermal Printer : Brochure (4 pages), Manuel de l'utilisateur (36 pages), Manuel de l'utilisateur (26 pages), Manuel de l'utilisateur (40 pages), Manuel de configuration et d'utilisation (43 pages), Manuel de l'utilisateur (2 pages), Manuel d'installation du logiciel (15 pages)
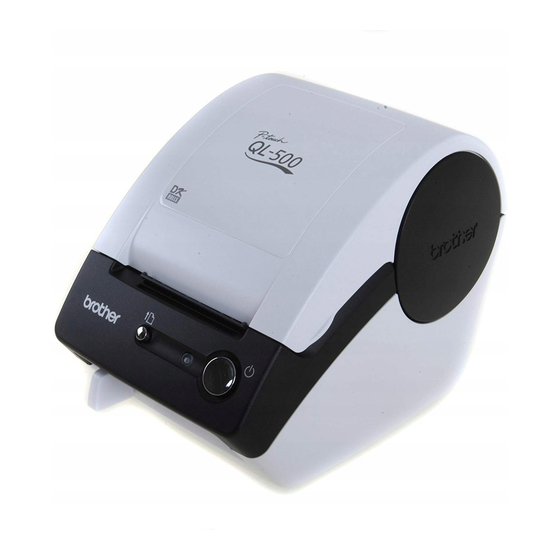
Brother QL 570 - P-Touch B/W Direct Thermal Printer Manuel de configuration et d'utilisation

2. When using Mac OS

This section explains how to install the P-touch
Templates, Clip Art, and Printer Driver. After installing the Printer Driver, it also explains
how to set it for the machine.
Until the installation of printer driver is completed, do not connect the machine to
®
Macintosh
. If it has been connected to it, pull out the USB cable from Macintosh
When installing it, log in as the administrator.
Here explains the example of Mac OS
1
Start up Macintosh
QL-570 screen is displayed.
When it does not start up automatically, double click QL-570
(CD-ROM) icon.
2
Click [Mac OS X] folder and double click [P-touch Editor 5.0
Installer].
Follow the on-screen instructions.
3
After the installation is completed and
the screen shown right is displayed,
click [Done].
The installation of software is completed.
Next, install the printer driver.
4
Double click [Brother QL-570 Driver.pkg] in [Mac OS X] folder.
Driver Installer starts up. Follow the on-screen instructions.
5
When the installation is completed and
the message "Click Restart to finish
installing the software" is displayed,
click [Restart].
®
Macintosh
is restarted.
The installation of printer driver is completed.
®
®
®
X 10.4.9.
®
, and insert the CD-ROM into CD-ROM drive.
Editor 5.0, Fonts, Auto Format
13

STEP

1
®
.
STEP
2
STEP
3
STEP
4