Fujitsu ScanSnap FI-4110EOX2 Manuel de démarrage - Page 10
Parcourez en ligne ou téléchargez le pdf Manuel de démarrage pour {nom_de_la_catégorie} Fujitsu ScanSnap FI-4110EOX2. Fujitsu ScanSnap FI-4110EOX2 18 pages. Color image scanner
Également pour Fujitsu ScanSnap FI-4110EOX2 : Procédures d'installation (2 pages), Spécifications (2 pages)
3. How to Use ScanSnap!
This chapter describes basic ScanSnap! operation.
3.1. Scanning Documents with
ScanSnap!
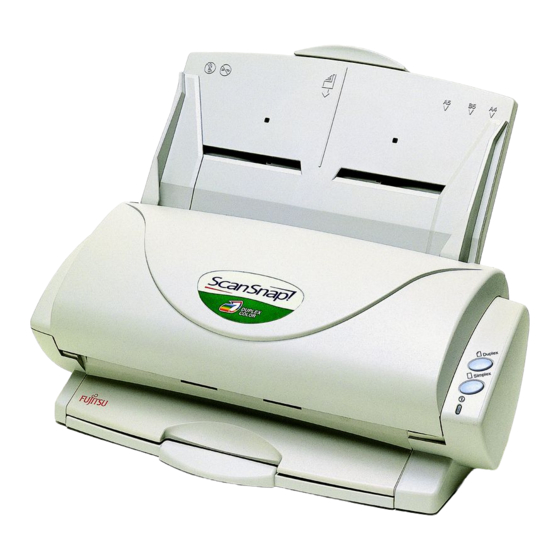
With "ScanSnap!" scanner, by pressing just one button,
you can scan and save documents as a file. The scanned
image can be viewed on the screen using the supplied
applications (Adobe Acrobat, CardMinder).
Two typical usages are:
○
Create digital backup of general office documents as PDF
1
files. View or edit them later using "Adobe Acrobat".
○
Scan and manage business cards. With "CardMinder", scan,
2
recognize, and edit business cards, and export the data to a
popular personal information manager application such as
Outlook.
3.2. About the Scan Settings
You can change ScanSnap! settings by using "ScanSnap!
Monitor".
1. Right-click "ScanSnap! Monitor icon"
bar, and select [Setting ...] from the following menu.
"
The
Scan and Save Settings" window opens.
2. Change the scan settings on the "Scan and Save
Settings" window.
There are six tabs used to configure scan options:
[Application]
Select the application, which will view/manipulate the
images after scanning documents.
8 |
[Save]
Specify the folder and file name to save the scanned
images.
[Scanning]
Specify the quality of the scanned image.
[File option]
Select the file type (PDF, JPEG) of the saved images.
[Paper size]
Select the document size to scan.
[Compression]
Select the compression rate of the file.
HINT
3. Click the [OK] button to finish setting.
The new settings are enabled.
3.3. Scanning Office Documents
in the task
1.
Select "Adobe Acrobat" on the [Application] tab of
"Scan and Save Settings".
2.
Set the documents that you want to scan on the
scanner.
3.
Press the scan button.
In case of Duplex scan
In case of Simplex scan
Scanning starts.
When scanning completes, Adobe Acrobat starts and
displays the scanned images.
HINT
Refer to
"ScanSnap! Operator's Guide"
the
in the "ScanSnap! Setup CD-ROM" to learn
more about these setting.
Set the paper face-down in
the ADF paper chute.
Set the back side of paper
to the front.
Press
(Duplex button).
Press
(Simplex button).
●
You can also use another application to display
scanned images after scanning.
●
ScanSnap! scanner can scan documents using
various settings. Refer to the "ScanSnap!
Operator's Guide" in the "ScanSnap! Setup
CD-ROM" to learn more about scanning
documents.
Scan button