Brother HL-4040CN Manuel de mise à jour des services - Page 2

Parcourez en ligne ou téléchargez le pdf Manuel de mise à jour des services pour {nom_de_la_catégorie} Brother HL-4040CN. Brother HL-4040CN 11 pages. Brother printer - laser printer user manual
Également pour Brother HL-4040CN : Brochure (4 pages), Manuel d'installation rapide (35 pages), Brochure & Specs (2 pages), Liste de référence des pièces (40 pages), Nettoyage et entretien (7 pages), Manuel d'entretien (13 pages), Instructions techniques (6 pages), (danois) Manuel de l'utilisateur (35 pages)
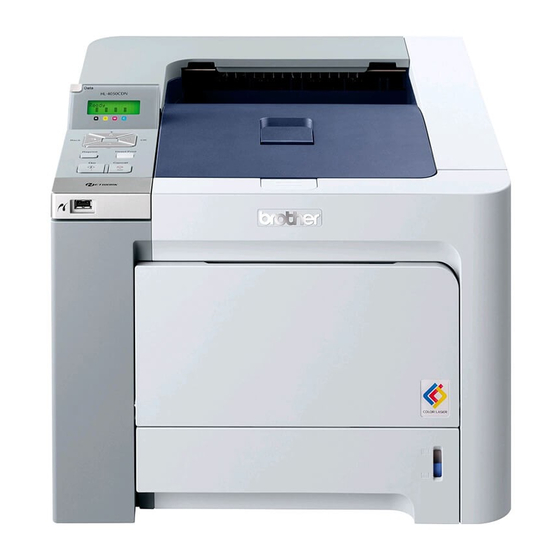
Brother HL-4040CN Manuel de mise à jour des services
Step 2: Check the Belt Cleaner Release Assembly
A. To check the assembly with all the supplies removed. Locate the Belt Cleaner Release Assembly (Figure
3).
B. Verify that the assembly is completely flush with the printer frame. The assembly is attached to the printer
frame with small pegs (Figure 5). If the pegs are not aligned properly, the assembly may not be flush with
the print frame. If the assembly is not flush, reseat the assembly as needed.
C. There is an actuator location on the back of the belt cleaner release assembly (Figure 4). It is an actuator
that can be pressed down. Verify the actuator is moving smoothly by pushing down on the actuator.
Repeat the test at least 10 times. The actuator should move smoothly and return to the UP position
when finger pressure is removed from the actuator. The sensor that this actuator activates (belt cleaner
release sensor) can be checked using maintenance mode 32. See Chapter 5 Service Functions in the
service manual.
I.
If the actuator is sticking or does not move freely we recommend you clean the assembly
II.
If the actuator still does not move freely or the belt cleaner release sensor fails
maintenance mode 32 test, then replace the belt cleaner release assembly. Refer to
Service Update F1249 (No Paper Fed – Clicking Noise) for removal and replacement
instructions
Print Unable 2A or No Waste Toner error
HL4040CN, HL4040CDN, HL4070CDW
August 6th, 2013 v3
Page 2 of 11
SERVICE
UPDATE No.
Figure 3
P1292_EN