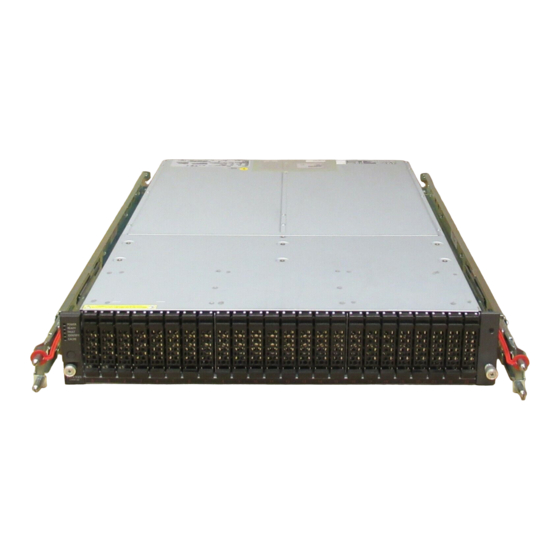
Installation in a Rack
S T E P
The rack rail needs to be attached to the rack and the controller enclosure or the drive enclosure needs to
be installed.
-Installation- "Chapter 3 Rack Installation"
●
IMPORTANT
●
1.
Adjust the rack rail size to fit the rack.
[Left]
(Front rack pillars)
2.
Attach the rack rails to the rack.
The size of the controller enclosure and the drive enclosure is 2U.
Screw holders
M5 screws
The M5 screw positions for the rack rails are determined by the controller enclosure or the drive
enclosure base line.
Insert the M5 screws in the 1st and 3rd holes on the front and rear rack pillars above the base lines to
fasten the rack rails.
3rd position
(M5 screws)
1st position
(M5 screws)
3.
Install the controller enclosure or the drive enclosure in the rack.
IMPORTANT
FUJITSU Storage ETERNUS DX60 S2 Disk storage system Read Me First
A drive enclosure must be installed above a controller enclosure.
The center of gravity must be taken into consideration to prevent a rack from toppling over.
The controller enclosure and the drive enclosure should generally be installed from bottom to top to
lower the center of gravity and to ensure the safe use of racks.
Loosen the screws,
and adjust the rack rails to
the depth of the rack.
Rack rail (for left side)
"L" is stamped on the inner
side of the left rack rail.
Rack rail (for right side)
"R" is stamped on the inner
[Right]
side of the right rack rail.
Bracket L
(Front rack pillars)
M5 screws
Screw holders
[Left]
2U
Base line
Rack rail
Make sure to install or remove the controller enclosure or the drive enclosure to or from a rack with
two or more people.
Copyright 2014 FUJITSU LIMITED
(Rear rack pillars)
Screw holders
M5 screws
M5 screws
(Rear rack pillars)
Screw holders
Bracket R
[Right]
3rd position
(M5 screws)
1st position
(M5 screws)
7
P3AM-5542-07EN

