Brother MFC-J4610DW Commencer ici Manuel - Page 10

Parcourez en ligne ou téléchargez le pdf Commencer ici Manuel pour {nom_de_la_catégorie} Brother MFC-J4610DW. Brother MFC-J4610DW 47 pages. Quick setup guide - spanish
Également pour Brother MFC-J4610DW : Manuel d'installation rapide (47 pages), Manuel (36 pages), Manuel (22 pages), Manuel de sécurité des produits (17 pages), Manuel (13 pages), Manuel (13 pages), Manuel d'installation rapide (45 pages), Manuel de sécurité des produits (20 pages), Manuel de démarrage rapide (29 pages), Manuel de sécurité des produits (25 pages), (Espagnol) Manuel Guia De Web Connect (38 pages), (espagnol) Manuel (24 pages), (anglais) Product Safety Guide Manual (16 pages), (espagnol) Manuel (12 pages), (espagnol) Manuel (11 pages), (anglais) Quick Configuration Guide (47 pages)
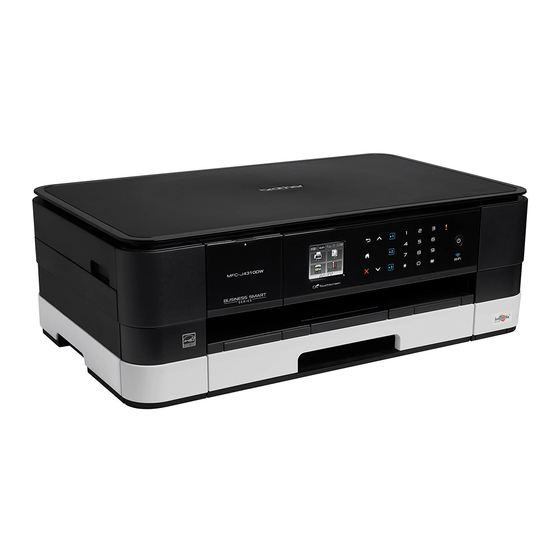
Brother MFC-J4610DW Commencer ici Manuel
10
Choose a Receive Mode
There are four possible receive modes: Fax Only,
Fax/Tel, Manual and External TAD.
uuBasic User's Guide: Using Receive Modes
Do you want to use the telephone features of your
machine (if available) or an external telephone or
external telephone answering device connected on the
same line as the machine?
Yes
Are you using the voice message
function of an external telephone
answering device?
No
Do you want the machine to
answer fax and telephone calls
automatically?
Yes
No
Yes
a
Press Settings.
b
Press s or t to display Initial Setup.
Press Initial Setup.
c
Press Receive Mode.
d
Press s or t to display Fax Only, Fax/Tel,
External TAD or Manual.
Press the desired receive mode.
e
Press
.
10
No
Fax Only
Your machine
automatically answers
every call as a fax.
Fax/Tel
Your machine controls
the line and
automatically answers
every call. If the call is
not a fax, the telephone
will ring for you to pick
up the call.
Manual
You control the
telephone line and must
answer every call
yourself.

External TAD

Your external telephone
answering device (TAD)
automatically answers
every call. Voice
messages are stored
on the external TAD.
Fax messages are
printed.
11

Set the date and time

The machine displays the date and time, and if you
set up the station ID, the date and time displayed on
your machine will be printed on every fax you send.
a
Press Settings.
b
Press s or t to display Initial Setup.
Press Initial Setup.
c
Press Date & Time.
d
Press Date & Time.
Enter the last two digits of the year on the
Touchscreen, and then press OK.
To move the cursor to the left, press
re-enter the number.
(e.g. Enter 1 2 for 2012.)
e
Repeat for month/day/time in 24-hour format.
f
Press
.
and