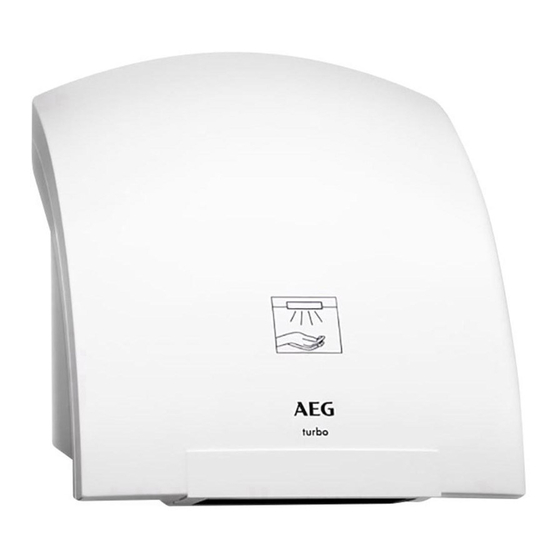
AEG HE 260 TM Instructions d'utilisation et d'installation - Page 12
Parcourez en ligne ou téléchargez le pdf Instructions d'utilisation et d'installation pour {nom_de_la_catégorie} AEG HE 260 TM. AEG HE 260 TM 38 pages.

For the Fitter
2.
Installation instructions
2.1
Configuration
1
Outer casing
2
Appliance
3
Warm–air exit grille
4
Fastening screws
5
Cable grommet
6
Mounting holes
7
Locking bolt
8
Plastic angle (only for HE 260 TM)
9
Fan
10 Heating element
11 Sensor
2.2
Technical data
Weight
Motor rating
Nominal output
Voltage
Loading information and technical data may vary from country to country. Please note the
information from the rating plate for specific details.
2.3
Regulations and specifications
• All electrical installation work should be carried out by a qualified electrician in accordance with
IEE regulations.
• The appliance must be separable from the mains with an appropriate multipole device with an air
break of at least 3 mm. Concerning this point a protective device, line switch, fuses etc can be
installed.
• This appliance must be installed (electrical installation), commissioned and serviced by approved
service technicians in accordance with these instructions.
• Any maintenance to the hand dryer should be carried out by a qualified electrician. The power
supply should be disconnected before removing the front cover. Only original AEG parts should
be used.
2.4
Installation
The hand dryer should only be mounted on a solid wall.
To install the unit follow these instructions:
2.4.1
Removal of front cover
HE 181, HE 260 T (see page 4)
a. Remove the mounting screws (4).
b. Pull down the locking bolt (7).
c. Remove the front cover (1).
HE 260 TM (see page 5)
a. Remove the mounting screw (4).
b. Pull down the locking bolt (7).
c. Slide off the outer casing (1).
14
HE 181
2,6 kg
70 W
1800 W
220 - 240 V, 50 Hz
1
HE 260 T
HE 260 TM
2,6 kg
4 kg
120 W
2600 W
220 - 240 V, 50/60 Hz
