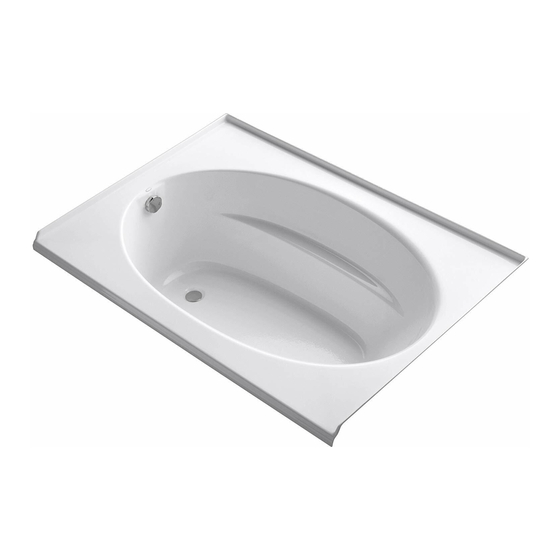
Kohler K-1142 Manuel d'installation - Page 3
Parcourez en ligne ou téléchargez le pdf Manuel d'installation pour {nom_de_la_catégorie} Kohler K-1142. Kohler K-1142 25 pages. Drop-in acrylic baths
Également pour Kohler K-1142 : Manuel d'installation et d'entretien (29 pages), Manuel d'installation (25 pages), Manuel d'installation et d'entretien (25 pages)

1. Prepare the Site
WARNING: Risk of product damage. Do not support the bath by the rim. Provide a 1/16" (2 mm) gap
between the finished deck/floor surface.
NOTICE: Adequate floor support must be provided. Consult the roughing-in sheet packed with your bath
for specific floor loading requirements.
Make sure the flooring offers adequate support for your bath. Verify the subfloor is flat and level.
NOTE: This bath should be installed in a drop-in or raised deck installation. If a deck-mounted faucet and
valving are planned, ensure that adequate space is available for their installation.
When constructing the framing, be sure to allow for the thickness of the finished wall materials.
Design and construct 2x4 or 2x6 stud framing for your particular installation. Frame the floor, or
construct a frame for a raised deck installation according to the roughing-in information. Ensure
there is a 1/16" (2 mm) gap between the finished deck/floor surface so the bath does not rest on the
rim.
Position the plumbing according to the roughing-in information. Cap the supplies and check for
leaks.
NOTE: For corner installations, cut a hole large enough to allow for the diagonal positioning of the drain.
Unless the bath is elevated for an above-floor drain installation, a hole will need to be cut to
accommodate the drain connections. Refer to the roughing-in information.
2. Prepare the Bath
Install the drain to the bath according to the drain manufacturer's instructions. Do not connect the
trap at this time.
Position a clean drop cloth or similar material in the bottom of the bath. Be careful not to scratch the
surface of the bath.
3. Secure the Bath to the Subfloor – Models With Support Blocks Only
CAUTION: Risk of product damage. Do not support the bath by the rim.
Verify the subfloor is level. Shim the bath support blocks as necessary to achieve level.
Secure the bath to the subfloor using "Option 1: Secure Using Cement or Mortar Bed" OR "Option 2:
Secure Using Construction Adhesive."
Option 1: Secure Using Cement or Mortar Bed
Kohler Co.
Position
the rough
plumbing.
Construct 2x4 or
2x6 stud framing
according to the
roughing-in
information.
Provide a 1/16" (2 mm)
gap between the bath rim
and framing.
Frame the floor
according to the
roughing-in information.
Verify that the subfloor
offers adequate support,
and is flat and level.
3
1023730-2-F
