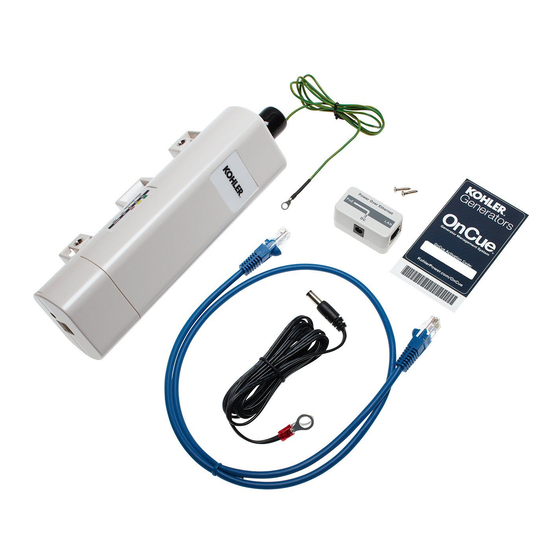
Kohler OnCue Plus Manuel d'instructions d'installation - Page 8
Parcourez en ligne ou téléchargez le pdf Manuel d'instructions d'installation pour {nom_de_la_catégorie} Kohler OnCue Plus. Kohler OnCue Plus 17 pages. Residential/commercial generator sets
Également pour Kohler OnCue Plus : Manuel de démarrage rapide (21 pages), Manuel de l'utilisateur (44 pages)

6.
Change the IP address of your Macr
computer to connect to the device.
6.1
Click the Appler icon.
6.2
Click System Preferences.
6.3
Click the Network icon.
6.4
Click the Ethernet connected icon.
6.5
Change Configure IPv4 to Manually.
6.6
Enter the IP Address 192.168.1.5.
6.7
Change the Subnet Mask to 255.255.255.0.
6.8
Enter Router address 192.168.0.1.
6.9
Click Apply.
6.10
Proceed to step 7.
7.
Enter the gateway to the wireless access
point.
7.1
Open your Internet browser (Internet Explorerr
or other browser).
7.2
Type 192.168.1.222 in the address bar. See
Figure 11.
7.3
Press Enter. The window shown in Figure 12
opens.
Figure 11 Enter Gateway Address in Internet
Explorer
8.
Sign into the wireless access point.
8.1
Enter "admin" for Name.
8.2
Enter "password" for Password.
8.3
Press Login.
password
Figure 12 Signing in to the Access Point
8
9.
Configure the wireless access point.
9.1
Click the System tab. See Figure 13.
9.2
Under Basic Settings: change Network Mode to
Bridge.
9.3
Click the Apply button to save the settings.
Note: If you do not click Apply, the settings will
not be saved.
Figure 13 System Basic Settings
9.4
Click Wireless tab. See Figure 14.
9.5
Under Basic Settings change:
9.5.1
Wireless Mode to Wireless Client.
9.5.2
802.11 Mode to 802.11B/G/N.
9.5.3
Channel Mode to 20 MHz.
Figure 14 Wireless Basic Settings
Customer's Wireless
TT-1618 6/14
