Aqua Lung Airsource Manuel du propriétaire - Page 16
Parcourez en ligne ou téléchargez le pdf Manuel du propriétaire pour {nom_de_la_catégorie} Aqua Lung Airsource. Aqua Lung Airsource 20 pages.

16
CARe ANd MAINTeNANCe
The Airsource is constructed from carefully selected materials, which are chosen
to resist corrosion. however, the corrosive effects of the environment in which
diving equipment is often used cannot be entirely eliminated. further, the pres-
ence of sand and other minerals can interfere with the normal operation of the
equipment, and repeated prolonged exposure to chlorine can accelerate deterio-
ration of some components. Therefore, your equipment will perform better and
last longer if it is rinsed with fresh water after each day's use.
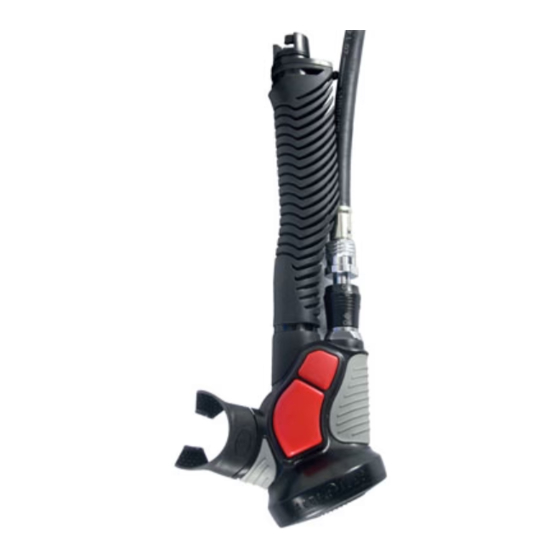
The Airsource corrugated hose can be separated into two parts, which meet in
the middle and are connected by the Trim grip™. The lower half (including the
MP hose) can be cleaned and stored with the first stage of your regulator. The
upper half can be cleaned, and remain on the BC until its next use. Detach the
medium pressure (MP) inflator hose from the hose guides at the top and middle
attachment points. While holding the molded hose steady just below the Trim
grip™, grasp and turn the Trim grip™ 1/4 turn clockwise, and pull down on
the molded hose to disengage the lower assembly. After proper cleaning, hold
the lower molded hose and Trim grip™ steady. engage the Airsource lower
assembly by lining up the upper and lower connection points and carefully turn-
ing counter-clockwise 1/4 turn. slide the medium pressure (MP) hose into the
middle and upper hose guides.
NOTe: When inserting the lower half of the Trim Grip™ into the upper
half, make sure to rotate counterclockwise to prevent parts from being
damaged. When inserted correctly, the lower half of the Trim Grip™ will
only rotate in a counterclockwise direction. Avoid using excessive force
when connecting the two parts.
The recommended procedure for cleaning your Airsource is as follows:
1. Ideally, you should soak the entire Airsource in warm tap water (less than
120
f/40
C) to loosen mineral deposits. A large plastic trash can filled with
°
°
fresh water is useful for rinsing all of your diving equipment.
2. If warm water soaking is unavailable, rinse the Airsource in tap water. If no
air pressure is supplied to the Airsource, dO NOT depReSS The pURGe
BUTTON! Pressing the purge button can cause water and mineral deposits
to reenter the unit, which can accelerate deterioration over time.
3. Remove any remaining excess water from the Airsource by thoroughly wip-
ing it dry with a soft towel. After it is dry, reconnect it to a scuba cylinder
and depress the purge button and the power inflator button to rid the unit of
excess water. Do not store the Airsource with air pressure supplied to it.
