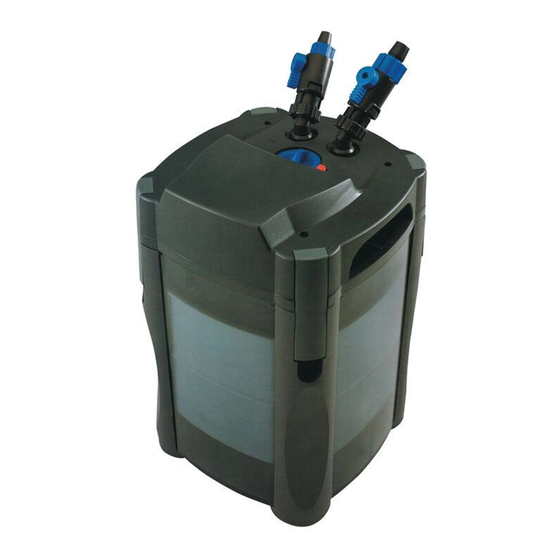
Aqua One AQUIS 500 Manuel d'instruction - Page 8
Parcourez en ligne ou téléchargez le pdf Manuel d'instruction pour {nom_de_la_catégorie} Aqua One AQUIS 500. Aqua One AQUIS 500 17 pages. Canister filters

Installation
1. Open both of the brown accessory boxes and
remove all components from there plastic bags.
You will find a set of taps and two pieces of
hose. Screw the collar on the taps all the way
in. (Clockwise) Fig 1
2. Now push one end of the hose over the hose
tail and thread. Push it on as far as possible. Fig
2
3. Now turn the collar anti clock wise to lock in
the hose. Do this on both pieces of hose.
4. Attach the taps to the inlet and outlet at the
top of the filter head. There is a sticker on each
tap and a label on the top of the unit which it
corresponds to. IN goes to IN & OUT to OUT.
Fig 3
5. Be sure not to cross thread the tap as this
may crack the seat and cause it to leak. Over
tightening the tap will have the same effect. NO
TOOLS ARE REQUIRED. HAND TIGHT IS
ENOUGH.
6. Place the canister in the desired position and
feed the hose through the cabinet or stand. Fig
4
Fig 1
7. Choose the outlet you wish to use and
assemble it. You will find you have 2 Walking
Sticks; the shorter one is generally used for the
outlet. However if you have a shallow aquarium
you can use the longer one.
8. Outlet option 1 is the Spray Bar, this can be
set up to run along the back or side wall of the
aquarium.
Fig 2
a
9. Attach a Joiner (b) on to the shorter side of
the Walking Stick (a), insert an Elbow (c) into
that. Then attach another Joiner (b) onto the
other end of the Elbow. (c) Insert the Spray Bar
(e) into the other end of the Joiner (b) . Press
together firmly. Attach Suction Cups (d) to the
Spray Bar.
Fig 3
d
b
c
b
1. Walking Stick (a)
4. Suction Cups (d)
2. Joiners (b)
5. Spray Bar (e)
3. Elbow (c)
Fig 4
d
e
