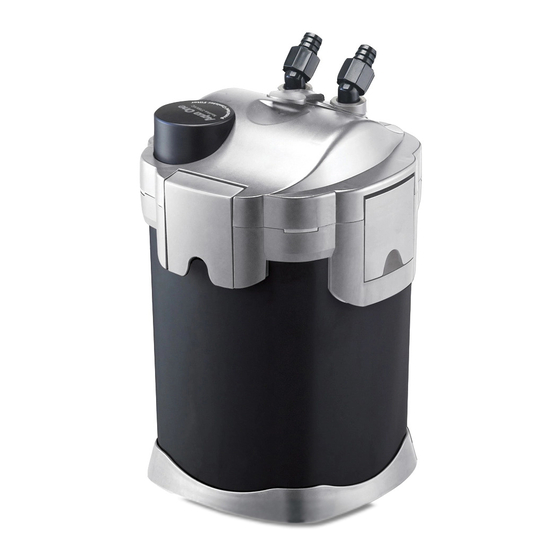
Aqua One Nautilus 2700UVC Consignes de sécurité - Page 9
Parcourez en ligne ou téléchargez le pdf Consignes de sécurité pour {nom_de_la_catégorie} Aqua One Nautilus 2700UVC. Aqua One Nautilus 2700UVC 16 pages. Canister filter

- 1. Table of Contents
- 2. Important Safeguards
- 3. Before First Use/Preparation
- 4. Know Your Filter
- 5. Recommended Filter Media Set up
- 6. Set up Instructions
- 7. Installation
- 8. Installation
- 9. Starting Your Filter
- 10. Cleaning Your Filter
- 11. Cleaning Your Filter
- 12. Changing Your UV Lamp
- 13. Trouble Shooting
- 14. Specifications
- 15. Installation
GB
Installation
a
b
c
d
e
1. U Pipe (a)
2. Lock Nut (b)
3. Hose Tail (c)
4. Elbow (d)
10. You will find that the U Pipe (a), Locking Nut (b)
and Hose Tail (c) come as one piece from the factory.
Attach the Elbow (d) on to the shorter side of the U Pipe.
Connect the Spray Bars (e) to each other and connect
the first Spray Bar to the Elbow. (g) Press together
firmly. Insert the End Cap (f) into the last Spray Bar.
Attach Suction Cups (g) to the Spray Bar. (e)
1. U Pipe (a)
3. Lock Nut (b)
4. Hose Tail (c)
5. Surface Skimmer Adjuster (d)
6. Sleeve (e)
7. Surface Skimmer (f)
8. Intake Pipe (g)
9. Pipe connector (h)
10. Suction Cup (i)
11. Strainer (j)
g
g
e
e
5. Spray Bar (e)
6. End Cap (f)
7. Suction Cup (g)
a
b
c
f
j
Fig 7
11. Refer to Figure 7 to assist you in assembling the
intake. You will find that the U Pipe, (a) Locking Nut (b)
Fig 6
and Hose Tail (c) come as one piece from the factory.
g
So to do the Surface Skimmer Adjuster, (d) Sleeve (e)
and the Surface Skimmer. (f) If you wish to adjust how
f
much water is drawn into the filter (once operating) by
the Surface Skimmer (f) the Sleeve (e) can be adjusted
to the desired level. Attach the Surface Skimmer as a
complete unit onto the longer side of the U pipe. Attach
the Intake Pipe (g) to the Surface Skimmer then attach
the Strainer (j) to the bottom of the Intake Pipe. Attach
Suction Cups (i) to the Intake Pipe. (g)
12. Install the inlet first (one with the Strainer). Place it
into the aquarium, stick it to the glass with the Suction
Cups on the intake pipe. Fig 8
d
13. Pull the hose from the inlet side of the filter up next
to the Hose Tail and line up.
e
14. Measure a good 10cm more that what you need
past the bottom of the Hose Tail.
15. Cut the hose using a sharp blade, try to cut it straight
and be careful not to cut yourself.
16. Force the hose on the Hose Tail. You should be
able to get it on to but up to the bottom of the Lock Nut.
Fig 9
i
g
Lock nut
h
Hosetail
g
i
Hose
10
Fig 8
Fig 9
