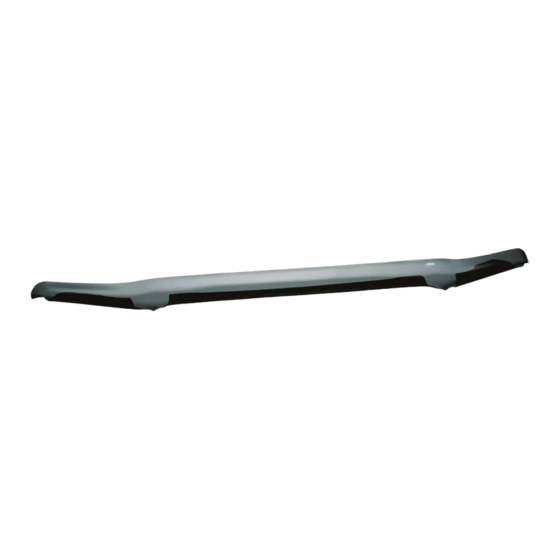
AVS Bugflector Manuel d'instructions d'installation - Page 2
Parcourez en ligne ou téléchargez le pdf Manuel d'instructions d'installation pour {nom_de_la_catégorie} AVS Bugflector. AVS Bugflector 10 pages. Hood shield
Également pour AVS Bugflector : Manuel d'instructions d'installation (7 pages), Manuel d'instructions d'installation (7 pages), Instructions d'installation (2 pages), Manuel d'instructions d'installation (7 pages), Manuel d'instructions d'installation (7 pages), Manuel d'instructions d'installation (6 pages), Manuel d'instructions d'installation (10 pages), Manuel d'instructions d'installation (6 pages), Manuel d'instructions d'installation (6 pages), Manuel d'instructions d'installation (10 pages), Manuel d'instructions d'installation (6 pages), Manuel d'instructions d'installation (9 pages), Manuel d'instructions d'installation (6 pages), Manuel d'instructions d'installation (6 pages), Manuel d'instructions d'installation (10 pages), Manuel d'instructions d'installation (10 pages), Manuel d'instructions d'installation (6 pages), Manuel d'instructions d'installation (10 pages), Manuel d'instructions d'installation (6 pages), Manuel d'instructions d'installation (10 pages), Manuel d'instructions d'installation (6 pages), Manuel d'instructions d'installation (6 pages), Manuel d'instructions d'installation (6 pages)

