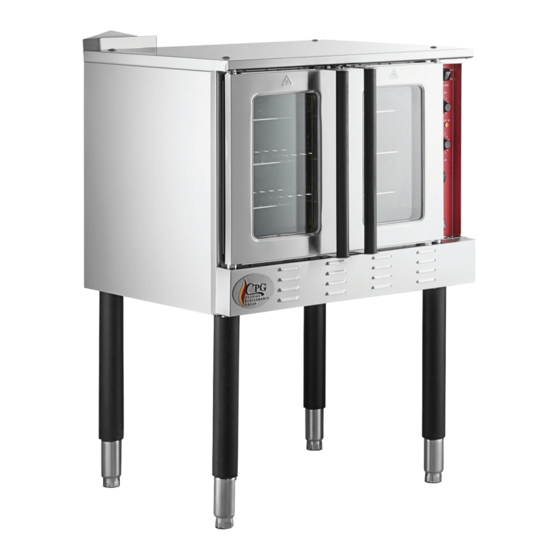
CPG 351FGC100DDL Manuel d'entretien - Page 12
Parcourez en ligne ou téléchargez le pdf Manuel d'entretien pour {nom_de_la_catégorie} CPG 351FGC100DDL. CPG 351FGC100DDL 18 pages. Gas powered convection ovens
Également pour CPG 351FGC100DDL : Manuel de l'utilisateur (12 pages)

Service Manual
351FGC100(L/N) | 351FGC200(L/N)K
351FGC100DD(L/N) | 351FGC200DD(L/N)K
!
ALL GAS CONNECTIONS MUST BE CHECKED FOR LEAKS
Internal Gas Regulator
Turn unit off. Disconnect gas and electrical connections.
1.
Remove hex bolts holding right side on with an 8mm
2.
socket.
Loosen and remove compression nut and union joint from
3.
either side of regulator to remove from unit (Fig. 41).
Remove fittings from both sides of old valve and install
4.
on new valve with an appropriate thread sealant.
Install is reverse of removal. Ensure there are no gas
5.
leaks.
Gas Conversion
Convert from one gas type to another by changing the burner orifices. Reference 'Gas Burner
1.
Components' on Page 11.
Replace regulator adjustment spring assembly. Reference 'Regulator Pressure Adjustment'
2.
below.
Add new gas decals to Serial plate and internal regulator to reflect change in gas supply type.
3.
Regulator Pressure Adjustment
Manifold pressure can be adjusted. If needed and if
1.
incoming pressure allows.
Remove right side panel hex bolts with an 8mm socket
2.
and remove panel, then remove front lower cover.
Install manometer onto burner manifold behind lower
3.
front panel to check pressure (reference serial plate for
required pressure), monitor if changes are needed
(Fig. 42).
Remove adjustment cover cap on inlet side of
4.
regulator with a flat screw driver (Fig. 43).
Turn adjustment screw under cap as follows:
5.
Counter-Clockwise: Decrease pressure
Clockwise: Increase pressure
!
ALL GAS CONNECTIONS MUST BE CHECKED FOR LEAKS
12
Fig. 41
Fig. 42
Fig. 43
www.cookingperformancegroup.com
.
