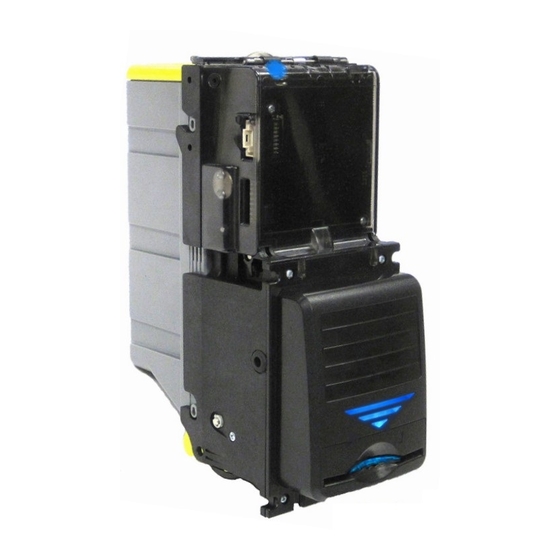
CPI CXB2 Manuel d'installation - Page 8
Parcourez en ligne ou téléchargez le pdf Manuel d'installation pour {nom_de_la_catégorie} CPI CXB2. CPI CXB2 13 pages.

NOTE CASSETTE DECAL
©
CPI 2016
|
CX Bill Validator
Crane Payment Innovations
www.cranepi.com
A. To remove the cashbox:
1. Lift the black latch up and hold.
2. Pull Cashbox backwards, removing box tabs from slots.
B. To download firmware from a Flash Drive:
1. Insert prepared Flash Drive with Micro USB OTG Adapter to
Micro USB OTG connector.
2. Push service button (less than 1 sec).
3. Wait until blue Diagnostic LED stops flashing.
4. Disconnect Flash Drive.
C. To retrieve diagnostic: There are two ways to retrieve diagnostic
1. Diagnostic LED: Observe blue Diagnostic LED. It will flash to
indicate the problem per the diagnostic table below.
2. Bezel LEDS: When the Bezel LEDS are solid red, insert a bill
in the entry slot. The Bezel LEDs will indicate the problem as
per the diagnostic table below.
# of Flashes
1
3
4
6
7-9
11
1 or 2 blue, on red
Any other combination of flashes, please
consult the operation manual or call technical support.
For technical support:
www.cranepi.com/en/support/
P/N# 253052002
information.
Diagnostic Description
Cash box is removed
Cash box is full
Check stacker/cash box
Clean sensors
Unit Failure, call for service
Clean note pathway, Sensor
assembly not seated
Call for service or download valid
software
CXB2
Mexico
Figure 7
http://www.cranepi.com
8
