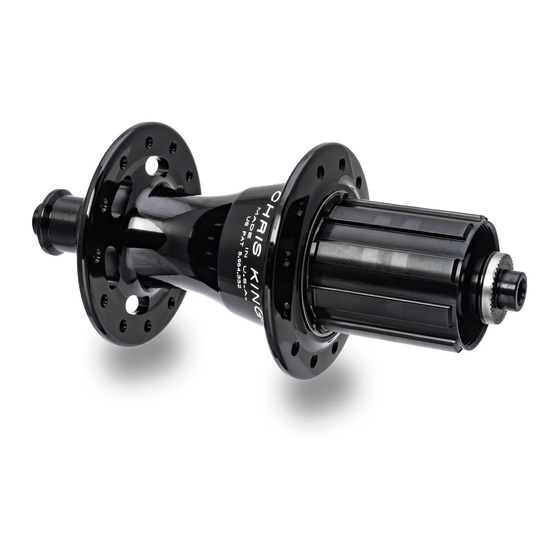
Chris King R45 DISC Manuel - Page 15
Parcourez en ligne ou téléchargez le pdf Manuel pour {nom_de_la_catégorie} Chris King R45 DISC. Chris King R45 DISC 20 pages. Hub
Également pour Chris King R45 DISC : Manuel de l'utilisateur (16 pages)

the spring retainer onto the end of the driveshell.
Note: During removal of the driveshell unit the spring retainer plate can become off-cen-
Note: During removal of the driveshell unit the spring retainer plate can become off-cen-
tered. Be sure that the spring retainer is properly centered against the back of the spring
tered. Be sure that the spring retainer is properly centered against the back of the spring
area before reinstalling the driveshell.
area before reinstalling the driveshell.
4. Test engagement by spinning driveshell in both directions. If it does not engage,
remove driveshell, check cleanliness and reinsert. Retest.
5. The hub is now ready to have the axle installed. Proceed to "Reassembly...", pgs 7
and 9.
Service of the bearings
Chris King sealed bearings have remov-
able snap rings that hold the rubber seals
in place.
1. C a re f u l l y, u s i n g a ve r y s m a l l
screwdriver, pick, or penknife, remove
the snap ring by inserting tool into
split of snap ring. Gently work one
end of the snap ring toward bearing
center until it is out of its groove.
Follow the ring around with the tool
until the snap ring is completely
dislodged.
2. Lift and remove exposed rubber
seal to access the interior of the
bearing.
3. Thoroughly fl ush the bearing with a light spray lubricant (e.g., WD-40™) and blow
dry.
Note: Some solvents, synthetic lubricants, and greases with high-pressure additives may
Note: Some solvents, synthetic lubricants, and greases with high-pressure additives may
attack and damage seals and other nonmetallic materials. Minimize exposure to these
attack and damage seals and other nonmetallic materials. Minimize exposure to these
substances and thoroughly dry hub after cleaning.
substances and thoroughly dry hub after cleaning.
4. Wipe dirt and other contaminants from the seals and snap rings. Avoid cleaning
the seals with solvent, which could cause deterioration.
5. Lay a bead of our RingDrive grease (see "Lubrication", pg. 5), fi lling the gap between
the inner and outer races 3/4 the way around bearing. Do not overfi ll bearing
with lube, as this may cause excess drag. Rotate the inner race to work grease
throughout the ball area.
6. Replace rubber seal between inner and outer bearing race.
7. Reinstall black rubber seal between inner and outer bearing race. If using the original
seal, reinstall using the same orientation as when they were originally installed, as
this will minimize drag.
8. Turn inner race of bearing by hand to test for binding. If bearings do not run smooth, repeat
steps 1-8. Binding is often a result of improperly seated seals and/or snap rings.
Used snap rings and seals can be reinstalled unless warped, punctured, or otherwise
Used snap rings and seals can be reinstalled unless warped, punctured, or otherwise
damaged. If damaged, replacement seals and snap rings are available from any authorized
damaged. If damaged, replacement seals and snap rings are available from any authorized
Chris King dealers or directly from Chris King Precision Components.
Chris King dealers or directly from Chris King Precision Components.
(see fi gure 10)
Bearing
Rubber Seal
Assembly
Figure 10
Snap Ring
13
