Dell PowerVault MD3060e Series Manuel du propriétaire - Page 23

Parcourez en ligne ou téléchargez le pdf Manuel du propriétaire pour {nom_de_la_catégorie} Dell PowerVault MD3060e Series. Dell PowerVault MD3060e Series 40 pages. Storage enclosure
Également pour Dell PowerVault MD3060e Series : Manuel du matériel et du logiciel (25 pages), Manuel d'installation (11 pages), Manuel de démarrage (10 pages), Information Update (8 pages), Instructions pour l'installation du rack (2 pages), Mise en place (2 pages), Manuel de déploiement (24 pages), Manuel de l'administrateur (35 pages), Manuel de démarrage (10 pages), Manuel de déploiement (24 pages), Manuel de l'administrateur (48 pages), Mise en place (2 pages)
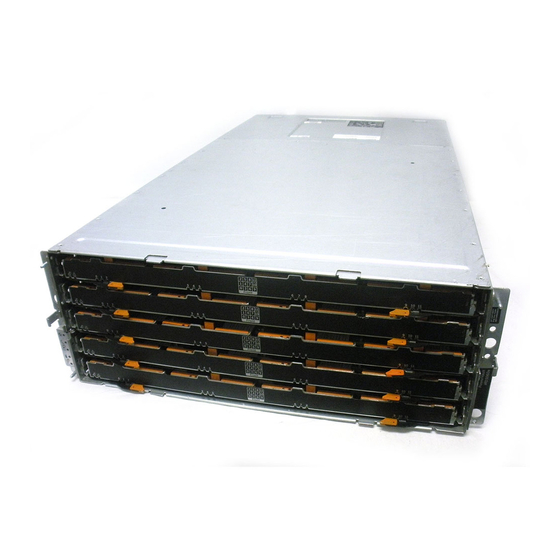
Dell PowerVault MD3060e Series Manuel du propriétaire
Figure 14. Removing and Installing the 3.5 Inch Physical Disk in a 3.5 Inch Physical-Disk Carrier
1.
3.5 inch physical disk
3.
slots on physical disk (4)
5.
carrier for 3.5 inch physical disk

Installing A Physical Disk In A Physical-Disk Carrier

CAUTION: Many repairs may only be done by a certified service technician. You should only
perform troubleshooting and simple repairs as authorized in your product documentation, or as
directed by the online or telephone service and support team. Damage due to servicing that is
not authorized by Dell is not covered by your warranty. Read and follow the safety instructions
that came with the product.
1.
Angle the physical disk into the physical-disk carrier.
2.
Align the holes on one side (and if applicable, on the bottom) of the physical disk with the pins on the
corresponding side of the physical-disk carrier.
3.
Push out the edges on the other side of the physical-disk carrier, so that the holes on the other side
of the physical disk align with the pins on the physical-disk carrier and snap the physical-disk carrier
on to the physical disk.
2.
release handle
4.
side guide pin (4)
6.
bottom guide pins (2). Removed from
newer carriers
23