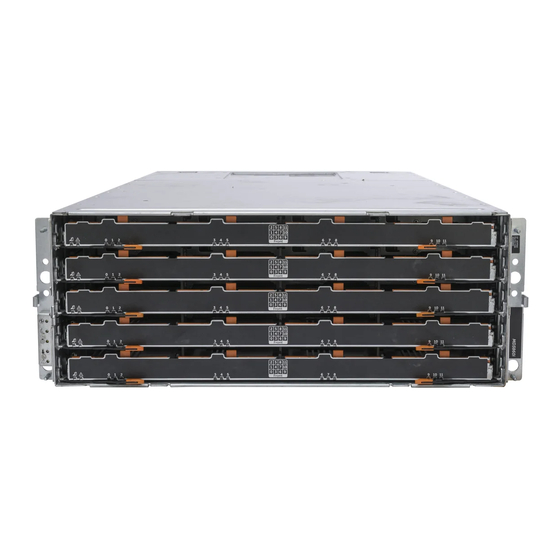
Dell PowerVault MD3860i Series Manuel du propriétaire - Page 37
Parcourez en ligne ou téléchargez le pdf Manuel du propriétaire pour {nom_de_la_catégorie} Dell PowerVault MD3860i Series. Dell PowerVault MD3860i Series 50 pages. Storage arrays

NOTE: The Service action required indicator lights amber when there is a fault in the power
supply module.
2.
Disconnect the power cable from the power source and the power supply module you intend to
remove and remove the cables from the cable securing strap.
3.
Pull and rotate the two release levers away from the chassis until the power supply module is free
from the slot.
4.
Hold the power supply module and slide the power supply out of the chassis.
Figure 23. Removing and Installing the power supply module
1.
power supply
Installing A Power Supply Module
CAUTION: Many repairs may only be done by a certified service technician. You should only
perform troubleshooting and simple repairs as authorized in your product documentation, or as
directed by the online or telephone service and support team. Damage due to servicing that is
not authorized by Dell is not covered by your warranty. Read and follow the safety instructions
that came with the product.
Ensure that the power switch on the power supply module that you are installing, is in the off position.
1.
Slide the new power supply module into the chassis until the power supply module is fully seated.
2.
Rotate both the release lever toward the chassis until the power supply module locks into place.
3.
Connect the power cable to the power supply module and plug the cable into a power outlet.
2.
release latch (2)
37
