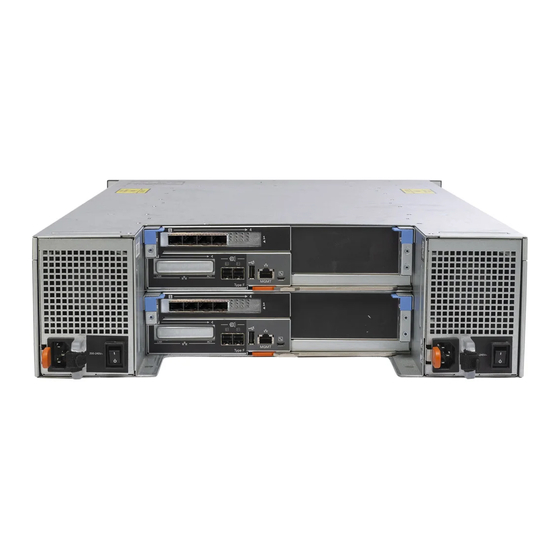
Dell SCv3000 Manuel du propriétaire - Page 14
Parcourez en ligne ou téléchargez le pdf Manuel du propriétaire pour {nom_de_la_catégorie} Dell SCv3000. Dell SCv3000 22 pages.

Install the Front Bezel
To secure the storage system, install the front bezel.
1.
Hook the right end of the replacement bezel onto the front panel of the storage system.
2.
Insert the left end of the bezel into the securing slot until the release latch locks into place.
3.
Secure the bezel with the keylock.
Hard Drives
The SCv3000 and SCv3020 storage system supports hot-swappable hard drives.
A minimum of 4 SSDs or 7 drives must be installed in the chassis or in an expansion enclosure. The SCv3000 and SCv3020 storage
system supports a maximum of 16 or 30 drives installed in the chassis. The drives are installed from left to right, and then top to
bottom. The first row of drives are numbered from 0–4 from left to right, the second row of drives are numbered from 5–9 from left
to right, and so on.
Dell Storage Manager identifies drives as XX-YY, where XX is the number of the unit ID of the storage system and YY is the drive
position inside the storage system.
Figure 8. SCv3000 Storage System Drive Numbering
Figure 9. SCv3020 Storage System Drive Numbering
Identify the Failed Drive
To determine which drive failed, use Dell Storage Manager.
1.
Click the Hardware tab.
2.
In the Hardware tab navigation pane, select the Enclosures node.
3.
Click the Disks tab.
4.
Find the drive with the status of Down.
5.
Record the location of the drive from the Name column.
Remove the Failed Drive
Use this procedure to remove a failed drive from the SCv3000 and SCv3020 storage system.
Prerequisites
•
Before removing the drive, make sure that the following alert is displayed in the Alerts tab of Dell Storage Manager:
Drive # is ready to be removed., where # is the drive position in the storage system.
14
Replacing SCv3000 and SCv3020 Storage System Components
