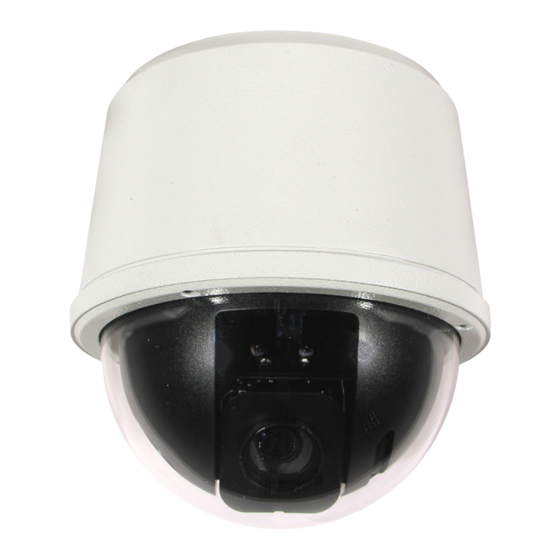
360 Vision VisionDome VR Manuel d'installation et de configuration - Page 17
Parcourez en ligne ou téléchargez le pdf Manuel d'installation et de configuration pour {nom_de_la_catégorie} 360 Vision VisionDome VR. 360 Vision VisionDome VR 20 pages.

Vision i Dome_VisionDome VR Installation Manual Ver 3.1
11 OSD Operation/Navigation
Dome menu
•
Seek Preset
•
Start Tour
•
Start Mimic
•
Settings Menu
Define Tour
A tour of presets is stored in the VisionDome as a list of tour points. Each tour point consists of a preset number,
the dwell time for which the VisionDome will pause and the speed parameter that will be used to seek the
preset. Each of the four tours of presets can contain between 2 and 360 points.
When programming a tour of presets it is necessary to first store all the required presets into the VisionDome
and to define the required dwell times and speeds of travel that you will require the VisionDome to use when the
tour is started.
A maximum of four individual tours of presets can be stored in each VisionDome. Each tour can have between
2 and 360 points, each point can be a preset in the range 1 to 360 (36 presets for the Vision i Dome). Different
points can use any preset number, including repeats of ones that have been used before. The speed that the
camera will travel at to reach the preset can be in the range 1°/sec (slowest) to 100°/sec (fastest). To seek the
preset at maximum speed, set speed to 0. The delay (dwell) at each point is defined in seconds, range 1 to 100.
This page will open on Tour 1, use the joystick left and right to change to another tour. To add item 1, use the
joystick to tilt down. This will highlight the number line so that the tour can be programmed. Use the joystick to
navigate along the number line and zoom in to select the number. This will add the number in to the NEW tour.
Add in the figures for the item/point in the tour using the sequence labelled above (PREDELSPD. PRE is preset
position, DEL is delay in seconds and SPD is speed at °/second). This is how the camera will be programmed to
move to a preset for a period of time at a set speed. All nine figures must be added into the item. Figures must
be added in three i.e. preset 21 will be added as 021.
Example of an item/point
021005100 = Move to preset 21 for 5 seconds at 100°/sec
Highlight ACCEPT ITEM and zoom in, this will add the item/point into the tour. The OLD item/point will be shown
on the screen. If these settings are acceptable, highlight the ACCEPT ITEM option and zoom in. There is no
need to add in these points again. Keep adding points until the tour is complete. On the final item/point of the
tour highlight and zoom in on ACCEPT FINAL ITEM. This will complete the tour programming.
Define Mimic
When a mimic tour is started, the VisionDome will perform all the actions which were defined when the mimic
was programmed. Up to four mimic tours can be defined.
Before going into the OSD screen to programme a Mimic tour it is recommended to move the camera in to the
start position, any movement or delay will be recorded once the recording has started.
Highlight and zoom in on START RECORDING, this will allow a mimic tour to be programmed into the camera.
The mimic tour can then be used to playback any manual movement, preset seek or delay. Program a preset to
end the mimic tour program.
Define Preset
Before going into the OSD screen to programme a preset, the camera must be in the position required. Once in
the OSD you cannot manually move the camera.
Define Home Function
The camera will perform an ACTION (goto preset, start preset or mimic tour), after a period of inactivity. Use the
NUMBER option to set which preset or tour to start, and the DELAY MINUTES/SECONDS to input the inactivity
time period.
Settings Menu
General Settings
Page 17
