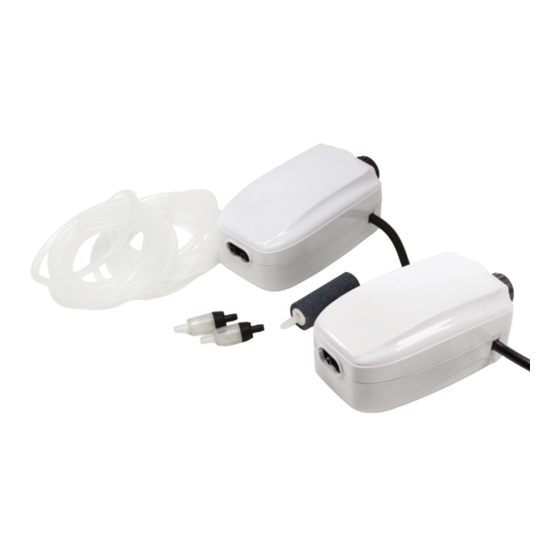
AllPondSolutions AP-1.5-KIT Manuel de démarrage rapide - Page 5
Parcourez en ligne ou téléchargez le pdf Manuel de démarrage rapide pour {nom_de_la_catégorie} AllPondSolutions AP-1.5-KIT. AllPondSolutions AP-1.5-KIT 13 pages. Aquarium air pump

ELECTRIC
This unit comes complete with a generous supply of 3 core cable, however should any
additional cable be required, the use of an approved waterproof cable connector with a
proper rating is essential. A cord rated for less amperes or watts than the appliance rating
may overheat.
Please Ensure:
The power supply must be earthed and fused at 3amps.
·
You regularly inspect the cable for damage and deterioration.
·
Do not connect to any voltage other than that stated.
·
You consult a qualified electrician if in doubt about any aspects of wiring.
·
SET UP
1. Attach one end of the air hose to the air outlet(s) on air pump.
2. Connect a non return valve between your air hose a few inches from your air pump.
3. Position your air pipe in your aquarium with or without air stone as required.
4. Plug air pump into outlet. Be sure to allow for a "drip loop"
Decide where you are going to position the air pump. The power cable must have a drip loop
to avoid any condensation build up reaching the mains (see Diagram 1 and 2). If the plug does
get wet, DO NOT unplug the cord. Disconnect the fuse or circuit breaker that supplies power
to the appliance. Then unplug and examine for presence of water in receptacle.
The air pump can be installed by following either of the two
recommended methods:
1. Place the air pump on a surface lower than the water level of
the aquarium. To avoid damage from accidentally spilled
water, do not place the air pump directly below the aquarium
(Diagram 1).
Air Pump
Water
Drip
Loop
Diagram 1
