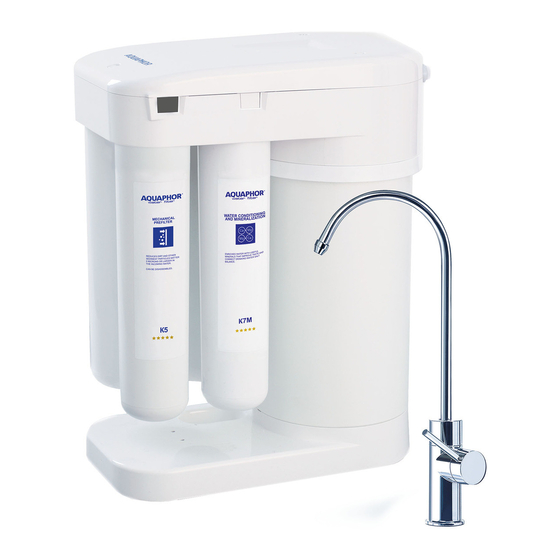
AQUAPHOR DWM-101 Manuel d'installation - Page 10
Parcourez en ligne ou téléchargez le pdf Manuel d'installation pour {nom_de_la_catégorie} AQUAPHOR DWM-101. AQUAPHOR DWM-101 16 pages. Drinking water machine

Maintenance Procedures
Warning: Shut off water to the appliance before beginning any maintenance.
Caution: Drain the tank by opening the treated water spigot before disconnecting the tubes or before removing
any cartridges from the DWM assembly.
Checking and Replacing the RO Membrane (3) and Filter Cartridges (1, 2, and 4)
A.
Remove the decorative cover from the appliance.
B.
Remove the RO membrane (3) and replace it with the
rinsing cap.
C.
Turn on the incoming water valve to the appliance.
D.
Turn on the treated water spigot and verify the flow of water.
E.
If the water flow is normal, replace the clogged RO
Membrane (3). See Changing the RO Membrane (3). If the water
flow is still reduced, proceed to the next step.
F.
Turn off the treated water spigot. Remove the Replacement
filter cartridge K5 (1) in position 1. Turn on the water and verify the
flow of water through the spigot. If the flow is normal, Replacement filter
cartridge K5 (1) may be clogged. If water flow is still reduced, proceed to the next step.
G.
Turn off the treated water spigot. Remove the Replacement filter cartridge K2 (2) from position 2. Turn on
the water and verify the flow of water through the spigot. If the flow is normal, the Replacement filter cartridge K2 (2)
may be clogged. If water flow is still reduced, proceed to the next step.
H.
Turn off the treated water spigot. Remove the Replacement filter cartridge K7M (4) from position 4. Turn
on the water and verify the flow of water through the spigot. If the flow is normal, the Replacement filter cartridge
K7M (4) may be clogged.
I.
Replace any clogged cartridges. See Changing the Filter Cartridges (1, 2, and 4).
J.
Replace any filter cartridge or RO Membrane (3) as deemed fouled after the testing process. Turn on the
incoming water valve to the appliance.
K.
Turn on the treated water spigot and verify flow of water. If the water flow is still reduced, repeat steps C–J
to determine if a second cartridge is clogged. If water flow is normal, proceed to the next step.
L.
Ensure there are no leaks and then replace the decorative cover.
18
Figure 13: Input/Output (I/O) Valve
10/9/2013
Drinking Water Machine
Installation Guide
Maintenance Procedures, Cont.
Checking and Replacing the I/O Valve Assembly
A. Disconnect the external drain line from the drain saddle and the white membrane drain line from the back
of the I/O Valve.
B. Place both lines into a bucket and verify the flow of water.
C. Open the treated water spigot and allow the appliance to flush for 5 seconds. Close the spigot and allow
the tank to refill (approximately 2–3 minutes).
D. While the tank is refilling, water should flow through both the white membrane drain line and the external
drain line into the bucket.
E. When the tank is filled, the I/O Valve should shut off the water to both drain lines. If the water continues to
flow through both drain lines, continue with steps F–M to replace the I/O Valve assembly.
F. Remove the decorative cover from the appliance.
G. Remove the locking clips and tubes from all ports on the valve assembly.
H. Unscrew both mounting screws.
Caution: Do not press down hard on the screws. Doing so may push the screws out of the plastic.
I. Remove the valve assembly, retaining the O-Rings.
J. Install the O-Rings on the new valve assembly
K. Position the new valve assembly and screw in the mounting screws until snug. Do not overtighten!
L. Reconnect all tubes to their appropriate locations and reinstall the locking clips.
M. Ensure there are no leaks and then replace the decorative cover.
Drinking Water Machine
Installation Guide
10/9/2013
19
