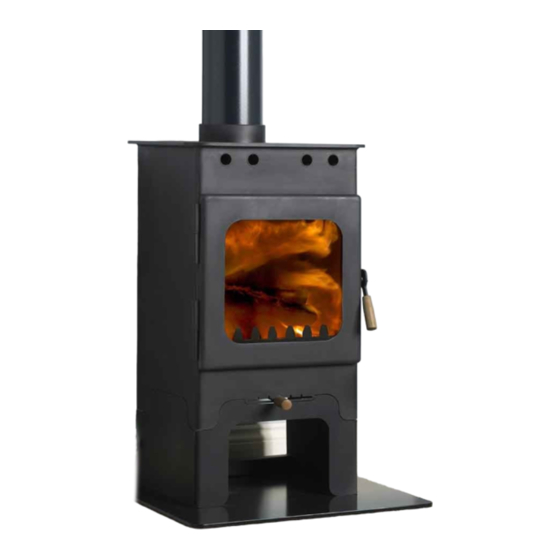
Burley Fireball Brampton 9108 Instructions d'installation et manuel de l'utilisateur - Page 9
Parcourez en ligne ou téléchargez le pdf Instructions d'installation et manuel de l'utilisateur pour {nom_de_la_catégorie} Burley Fireball Brampton 9108. Burley Fireball Brampton 9108 20 pages.
Également pour Burley Fireball Brampton 9108 : Instructions d'installation et manuel de l'utilisateur (20 pages)

Strength and heat resistance of the hearth.
Stoves are very heavy and most materials used for hearths crack very easily. It is impossible for
Burley to inspect each hearth or comment on every installation, so the onus is on the installer to
ensure the construction of the hearth is suitable for the application.
particularly fragile. If in any doubt we recommend sliding a piece of vermiculite or calcium silicate
insulation beneath the stove to protect it from the heat.
As guidance however:
· Do not use boxed and lipped hearths.
· Avoid marble, conglomerate or micro marble hearths.
· Rather than using one large piece of material, use sectional hearths or slabs which will move
independently and allow for expansion due to heat. Should a slab section crack it is then easier
and cheaper to replace.
· Bed hearths down on a level base, not directly on a hard surface which could be uneven.
· If necessary stand the stove on a steel or stone bed to ensure the weight is distributed.
· Do not subject the hearth to sudden impacts by dropping the stove. The stove is heavy and it is
strongly recommended that lifting is undertaken by two people.
· Use the hearth protection squares provided in your Thank You Kit.
Surrounds
Must be capable of withstanding the temperature produced by the stove and comply
with the minimum distances to combustibles.
Air Supply and Room Sealing Kit
All hydrocarbon burning appliances require an oxygen/air supply.
If the stove is to be fitted on an external wall the air supply can be taken straight from the outside
by using the optional room sealing kit. A 100mm diameter hole needs to be drilled in the correct
place (138mm above the hearth) to take the 86mm external (80mm internal) duct as supplied with
the kit. This will allow for easy connection. Any gap can be filled in with cement or mastic.
· A proprietary grille is supplied with the kit.
· A room sealing kit which exits horizontally is available.
The room sealing method of supplying air is always to be preferred as heat loss from the room will
be greatly reduced.
If the stove is not on an outside wall or the room sealing kit cannot be used, an air vent must be
supplied in the room in which the stove is fitted. The sizes of the vents required are:
· 3Kw – No vent required
· 4Kw - No vent required
· 5Kw – For homes built before 2010 – no vent required. For homes built after 2010 - 550mm sq
· 8Kw - 1650mm sq (50mm diameter)
· 12Kw 4950mm Sq (100mm diameter)
Only permanently open vents can be used and consideration should be given to draught when the
stove is not in use, therefore site this vent carefully. The vent covers should comply with Building
Regulations Part J and should be sited where they cannot be blocked.
(Optional)
Slate hearths can be
Page 9 of 20
