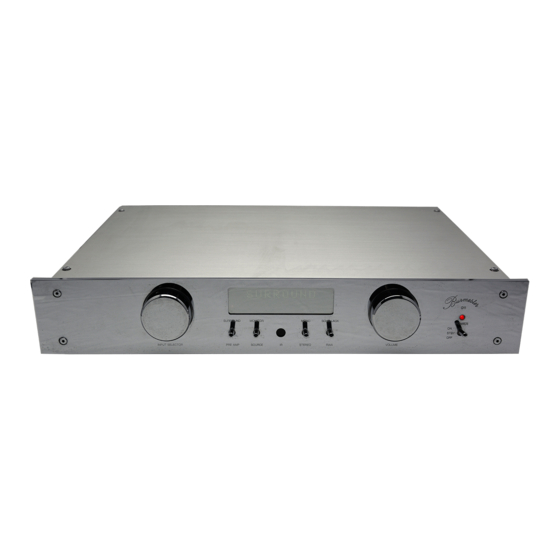
Burmester 011 Manuel du propriétaire - Page 11
Parcourez en ligne ou téléchargez le pdf Manuel du propriétaire pour {nom_de_la_catégorie} Burmester 011. Burmester 011 16 pages.

Special Functions
Configurations
The configurations menu of the 011 allows an easy and comfortable pre - setting of certain basic
menu
functions as well as configuring special functions.
Accessing the menu
You can access the configuration menu by executing the following steps:
1) Set AC MAINS switch (19) at the rear panel to ON
2) Set POWER switch (1) to OFF
3) Set SURROUND / PREAMP switch (13) to SURROUND
4) Set MONITOR / SOURCE switch (11) to MONITOR
5) Set MONO / STEREO switch (7) to MONO
6) Set SCHELLACK / RIAA switch to SCHELLACK
Finally, without delay, set the POWER switch (1) to ON.
CAUTION:
While the POWER switch (1) is in standby position the universal function display window (12) will
show CONFIG? If the POWER switch is not switched to ON within app. 5 seconds the configuration
menu will not be activated and the preamp goes back into normal operating mode. Accordingly, the
green STANDBY LED (10) illuminates.
Leaving the menu
To terminate programming and save the new configuration the POWER switch (1) must be set to
STBY or OFF. At least one of the switches (5), (7), (11) or (13) must be set back to its lower position
in order to avoid getting back into the configurations menu when the unit is switched back on.
Functions
The following table shows all functions that may be changed using the configurations menu.
The INPUT selector knob (16) is used to select the function to be re-configured (indicated in the left
side of the universal display window) and the VOLUME control knob (3) is used to change the res-
pective setting (indicated in the right side of the universal display window).
CAUTION:
While in the configurations menu the volume level of the 011 may be adjusted using the VOLUME +
and - buttons of the remote control.
Scroll with INPUT
selector knob (16)
L - PH (Level Phono)
L - CD (Level CD)
L - TU (Level Tuner)
L - A 1 (Level Aux1)
L - A 2 (Level Aux2)
L - A 3 (Level Aux3)
L - A 4 (Level Aux4)
L - TP (Level Tape)
PROGRAM
FUNCTION
Scroll with VOLUME
selector knob (3)
- 6 bis + 6
- 6 bis + 6
- 6 bis + 6
- 6 bis + 6
- 6 bis + 6
- 6 bis + 6
- 6 bis + 6
- 6 bis + 6
EXECUTED FUNCTION
Volume pre - set for PHONO input
Volume pre - set for CD input
Volume pre - set for TUNER input
Volume pre - set for AUX 1 input
Volume pre - set for AUX 2 input
Volume pre - set for AUX 3 input
Volume pre - set for AUX 4 input
Volume pre - set for TAPE input
Caution: The pre - adjustment of volume levels of the
individual inputs serves to avoid jarring jumps in volume
when switching between the various signal inputs.
7
